 Fly RC Magazine WE LIVE RC
Prevent Workshop Rash
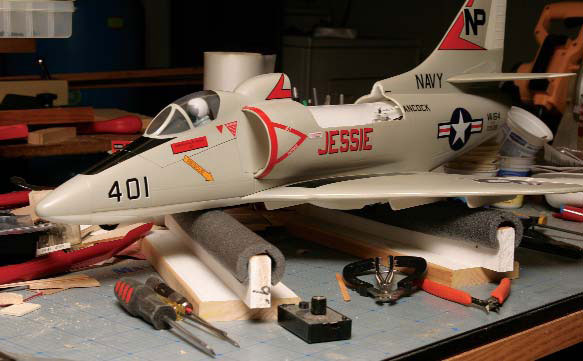
Hobby Lobbys Alfa A-4 is a perfect excuse to make up a couple of workbench risers. You will definitely want to protect it from the tools and accessories that tend to clutter a workbench.
Heres a quick little project that will go a long way toward keeping your latest aircraft looking good, whether you are finishing up the latest ARF or swapping a servo in a model you have built from a kit or plans. As soon as I am done with the woodwork of a new scratch-building project or I open the box of an ARF, I do my best to keep the various airframe components up off the workbench to protect them. The inevitable clutter of assorted tools and bits of hardware can easily damage a foam fuselage or a neatly covered wing. Here is a simple solution that you can make in just a few minutes.
CONSTRUCTION
I recently assembled the new E-flite Taylorcraft and, as always, I wanted to make sure it left the shop unblemished. The problem this time was that I had just moved and my workshop was far from set up, let alone organized, so I had no idea where my Precision Aero bench stand was. I grabbed a length of foam pipe insulation, cut a couple of 16-inch pieces and laid them on my bench. These did part of the job, but they rolled around a bit and were not high enough to be really effective. I knew I could do better.
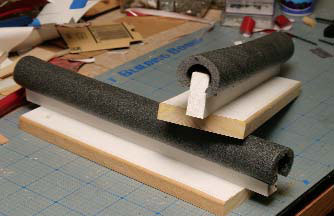
Here are my original risers. I knocked them out in just a couple of minutes.
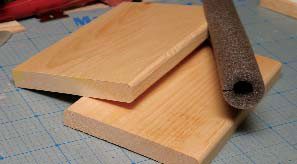
This is all you need to make one of these risers: a couple of scraps of wood and some foam pipe insulation. I used a radius plane to smooth the corners instead of firing up my electric router.
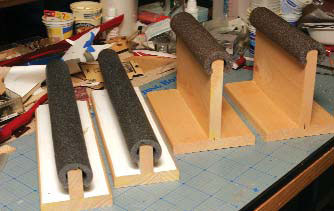
Leaning in the corner near my table saw was a 4-foot scrap of 1×4 pine. I chopped it into three pieces, each about 16 inches long, and then I ripped one of these in half. I now had two pieces that measured roughly 1-3/4×3/4 inches and two more at 3-1/2×3/4 inches. I used a few sheetrock screws to make two assemblies with an inverted T-shape cross-section as shown, and then I made a few swipes with a radius plane to knock the corners off. I split the pipe insulation along its seam and slipped the pieces onto the wood as padding. Before I knew it, I was done.
Yes, I did trim the ends on my originals when making the second set. Note the witness marks on the larger set. These help to keep the bits aligned during assembly.
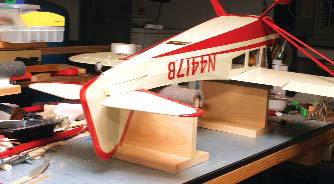
Here, the larger risers do the job of nicely protecting the E-Flite Taylorcraft.
The only hitch I have found so far is that with the Taylorcrafts fuselage inverted, the fin still hit the workbench. I solved this first by shimming one of the supports with a piece of 2×4, and later, I made two more supports with taller center rails. When laying a model on its side, I simply position things so that the stabilizer hangs over the edge of the bench.
CONCLUSION
These simple, inexpensive supports work great. They are not as secure as a cradle, but you can make them out of available scrap very quickly, and if you dont have one of the components handy, they offer a great excuse to go to the hardware store. They have proven to be invaluable during the last months, and I have used them with every project that has crossed my workbench since I first made them. Build a set quickly tonight and protect your latest project from unnecessary workbench rash.
