Now it’s time to close up the bottom of the fuselage with sheet balsa. This part of the building sequence offers me a fine opportunity to talk about one of the choices of design and construction technique that went into developing this kit. This is something that goes back to the very earliest days of model airplane building, and makes for a fun history lesson. In the beginning such model airplanes as existed at all might just as well have been whittled (OK, carved) out of a solid block of wood. Since the model builders of those days were every bit as smart as we are, it didn’t take long for them to figure out that solid models might look great, but for real flight they were useless unless you were willing to settle for swinging them around on a string. (Important note: real control line flying, which is something very different, was not invented yet.) What did offer promise of flying were models made mostly of air…contained and defined by a collection of intricately shaped long, skinny sticks and some shorter flat pieces that served as fuselage formers and wing ribs. At first the sticks were basswood, spruce or maybe even pine, and the flat stuff might just as often have been cardboard.
Tradition holds that sometime during the 1920’s or thereabout, balsa wood appeared as the miracle material that was going to revolutionize aeromodeling. It did.
Spruce and basswood (along with thin aircraft plywood as it became available) got reserved for things like wing spars and engine mounts (if you were lucky enough to have an engine!). Balsa took over. At first you used it just like the old stuff…longerons and stringers, leading and trailing edges…sticks. It didn’t take long for somebody to figure out that if you used a very thin, fine-toothed table saw you could cut a block of balsa wood into smooth, accurately dimensioned sheets of various convenient thicknesses and sizes AND that it took a whole lot less time and effort (as well as skill, sometimes) to cut out something like a fuselage side from one of those balsa sheets than it did to piece it together from eleventy-odd lengths of stick balsa.
Not surprisingly, considering the independent nature of the sort of people who build model airplanes, a debate ensued as to which was better…built-up (stick) construction with tissue or silk covering or sheet construction which might be covered or not, but didn’t need to be. Built-up structure lends itself to curvey, complex shapes and is by nature light as well. It’s also more demanding to build accurately and perhaps more likely to be fragile. Sheet structures tend, by definition, to be mostly flat and angular. They can be a lot quicker to build. They use up more balsa and often weigh more than built-up equivalents, but they are often tougher in the face of real-world flying. It can be harder to poke a hole through a piece of balsa than through a piece of doped tissue or silk. However, there are some things that you can’t do with fabric covered open structure, like producing a regular convex curved surface such as an engine cowl…without facets (flat spots). For that you need a bent or formed sheet or a carved or molded part. (You can produce an esthetically and mathematically smooth concave surface with fabric, but that’s a tale for another time).
The esthetics-versus-functionality debate that started here is still going on. You might say that it’s with us today as the model building-versus-ARF question. As is usually the case in such matters…in my opinion…there will never be any single right answer. We need them both, and this Stinson SR-9 kit project is an excellent example of how that works out in practice.
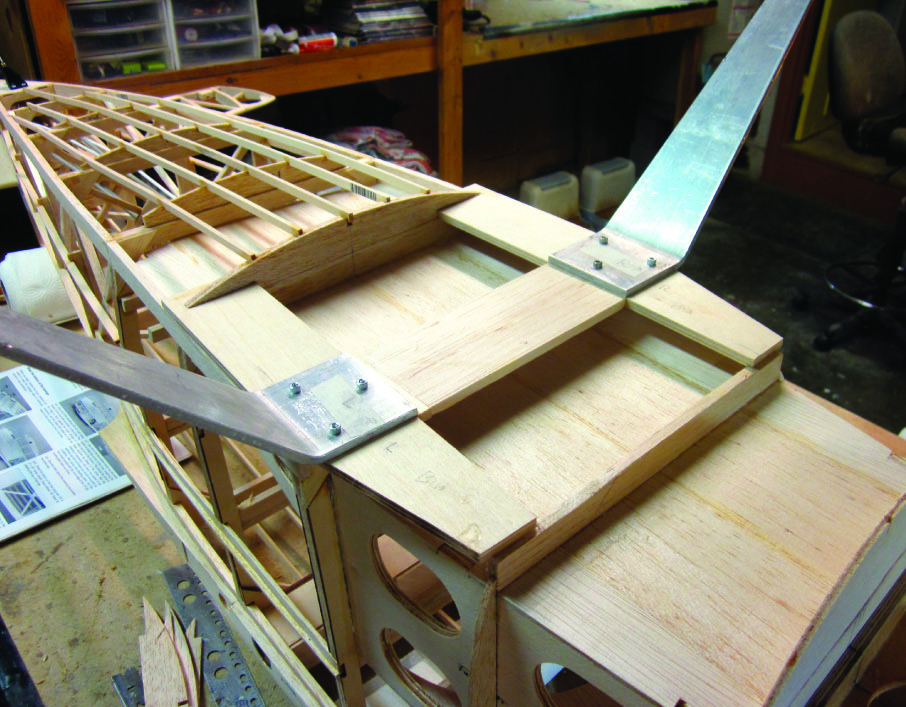
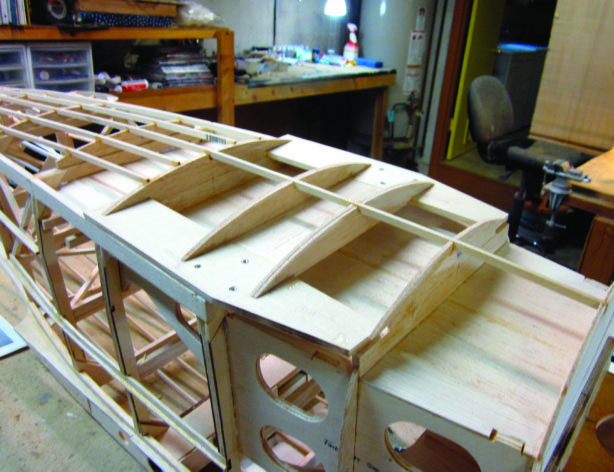
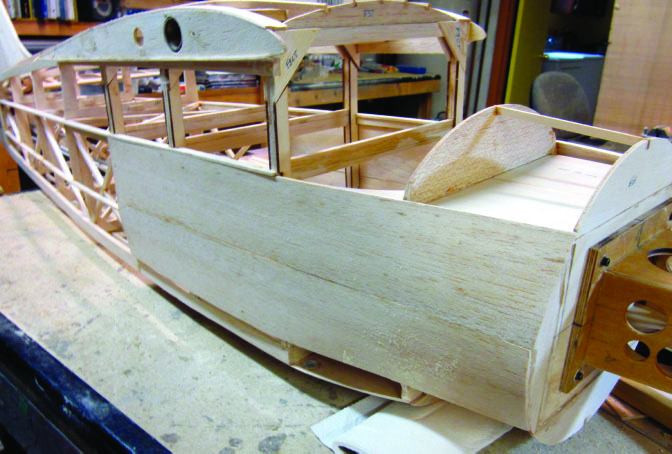
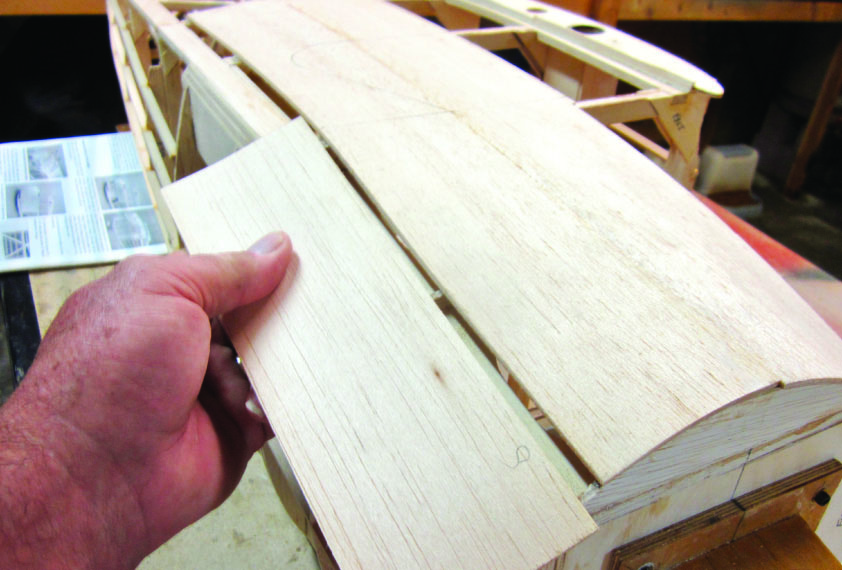
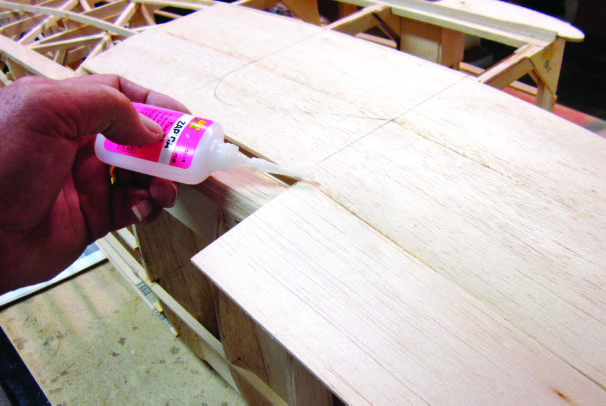
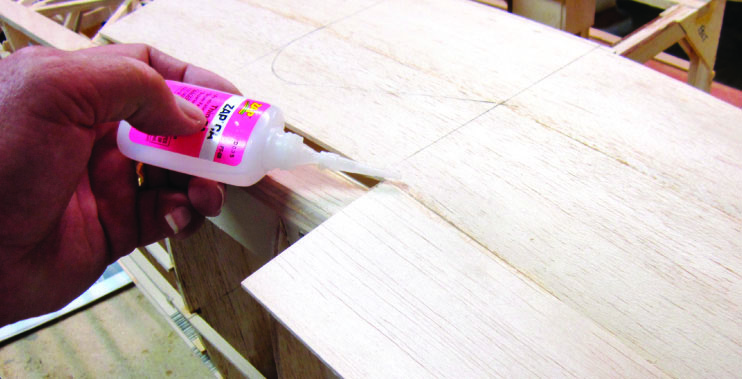
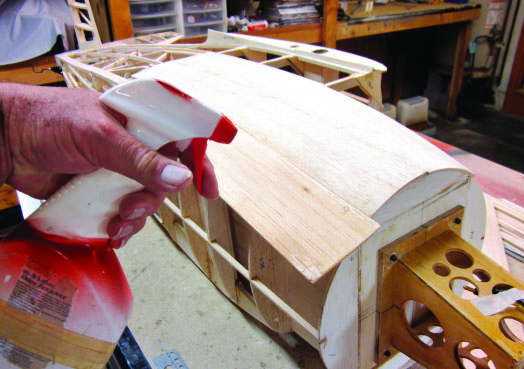
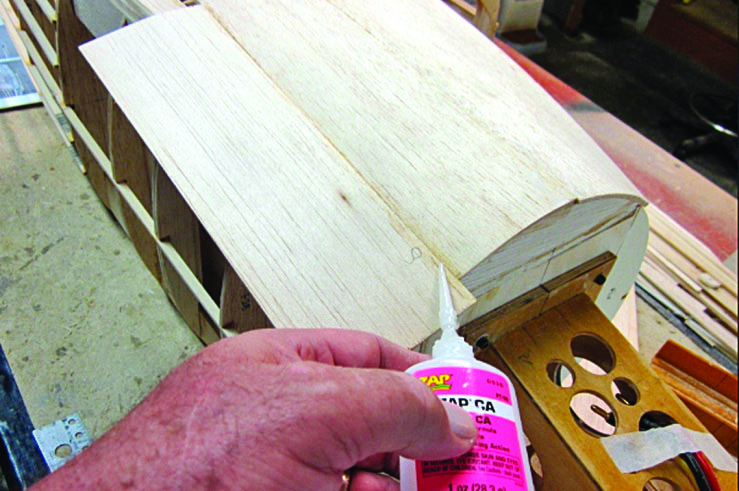
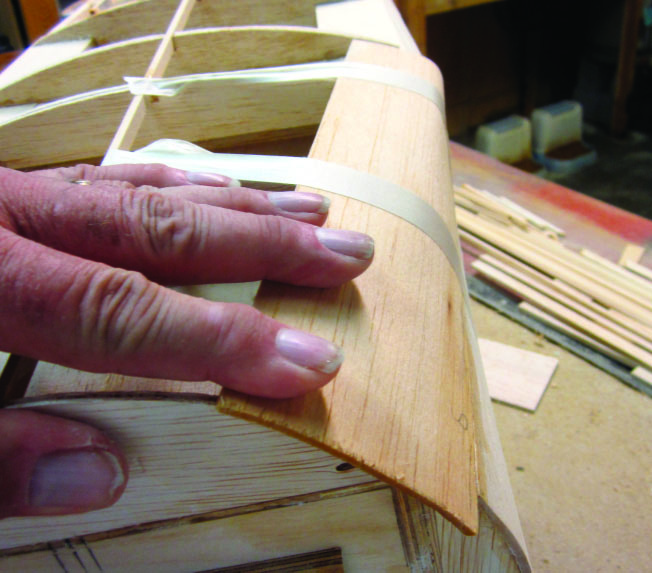
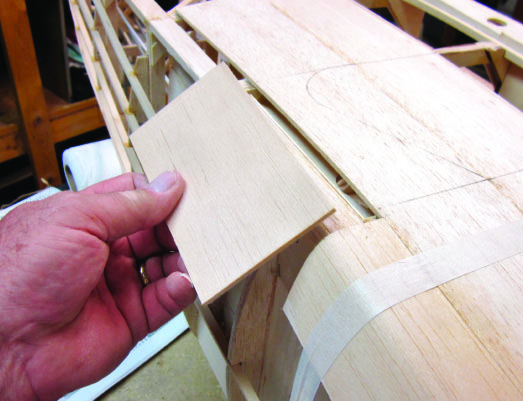
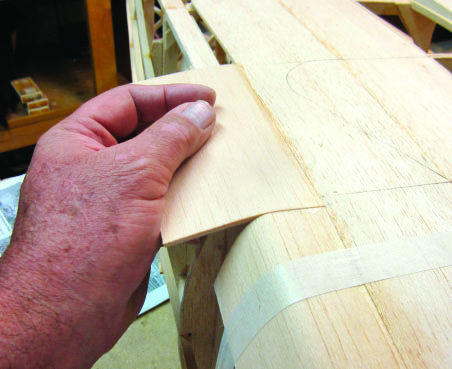
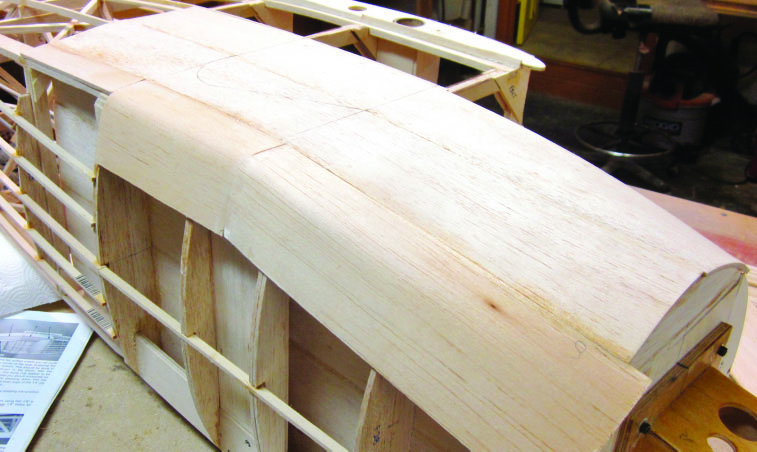
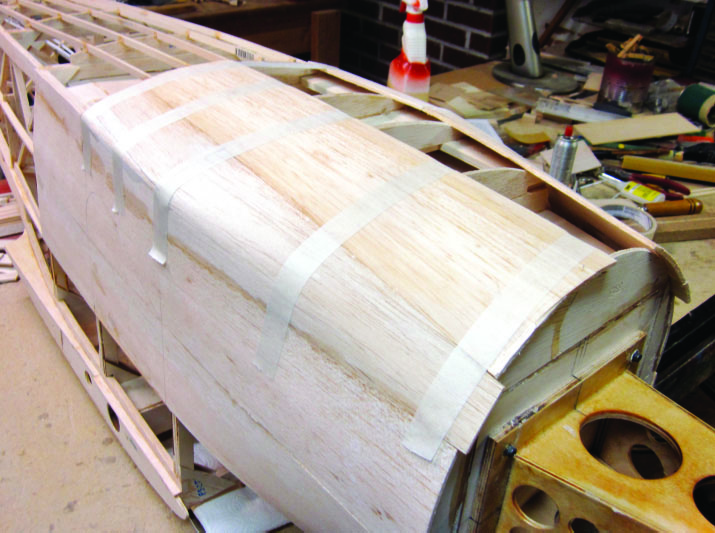
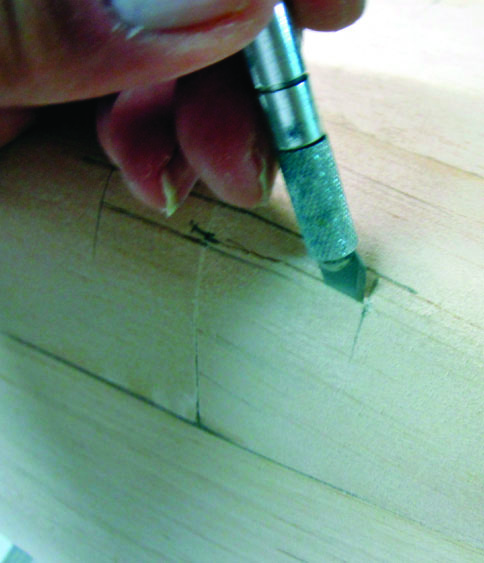
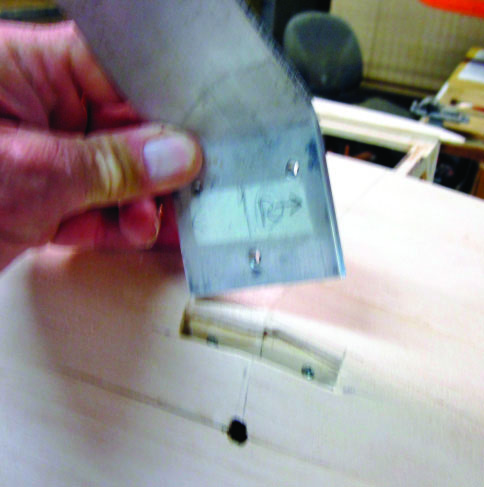
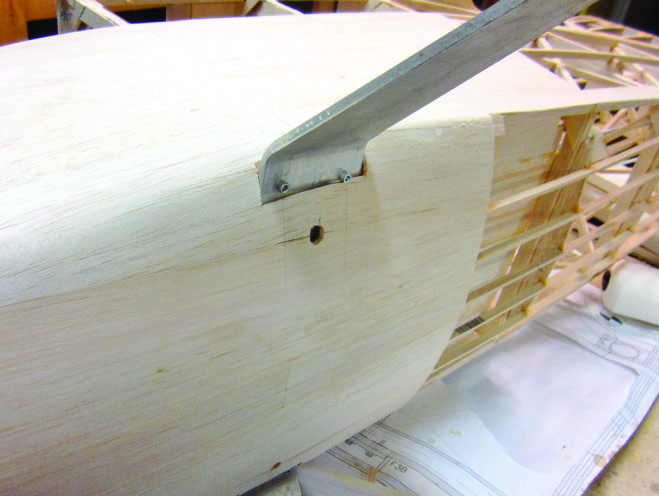
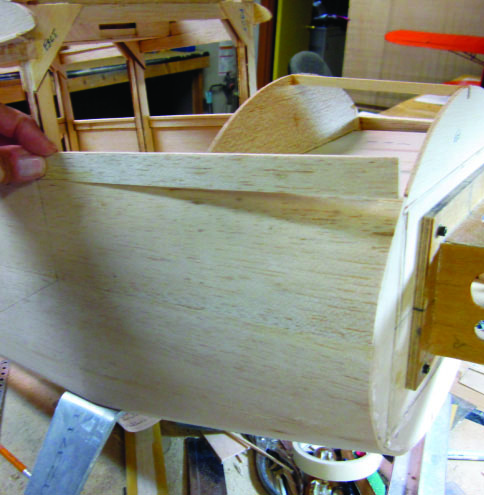
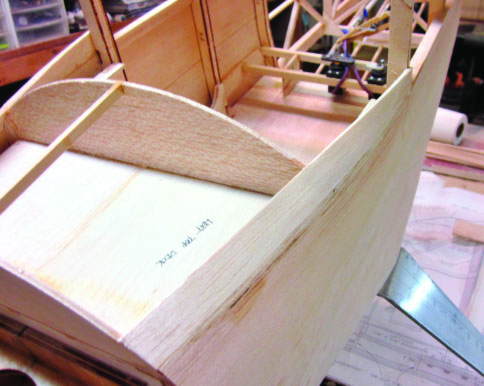
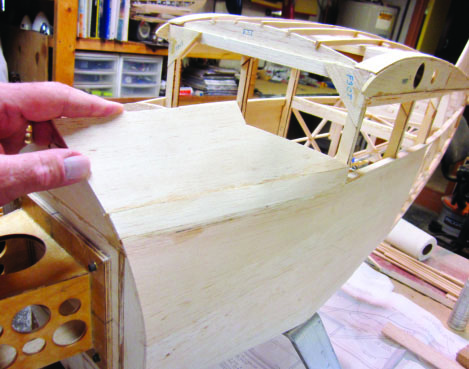
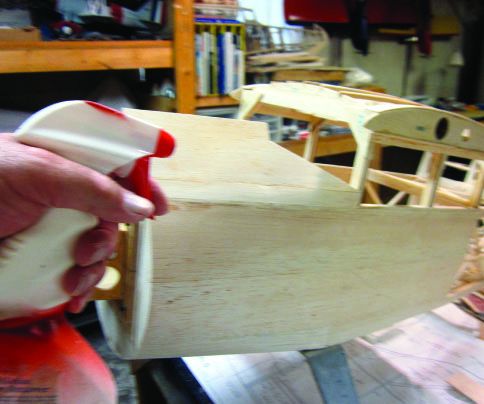
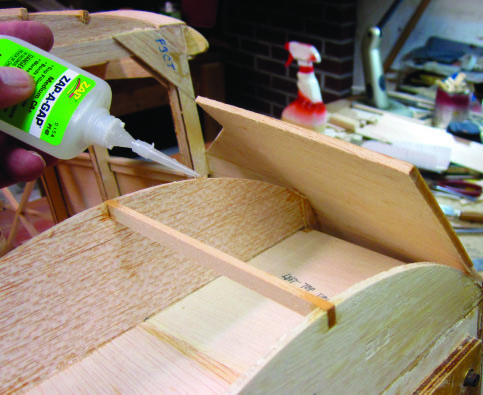
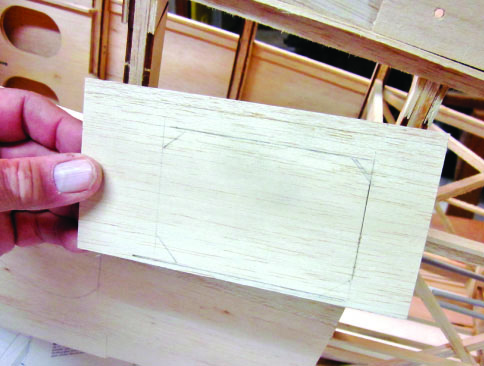
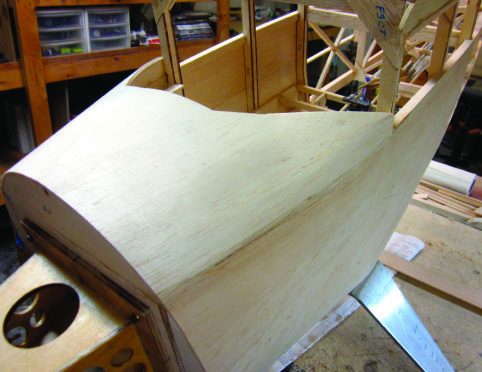
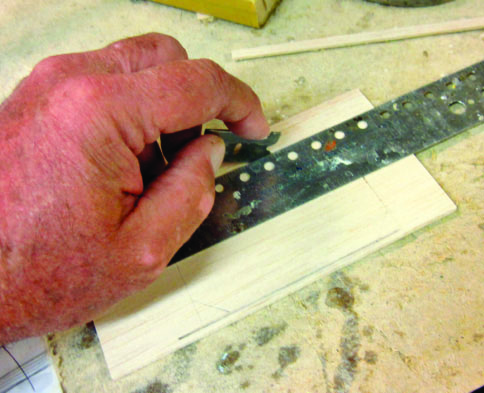
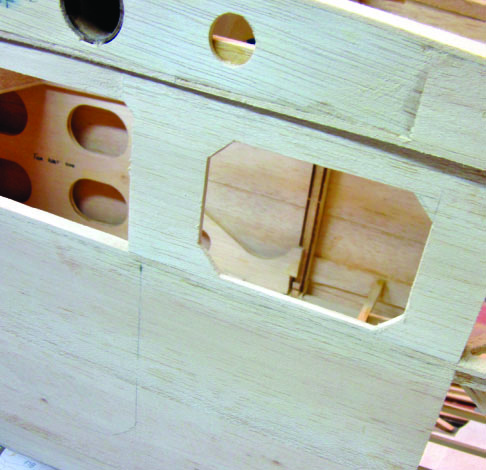
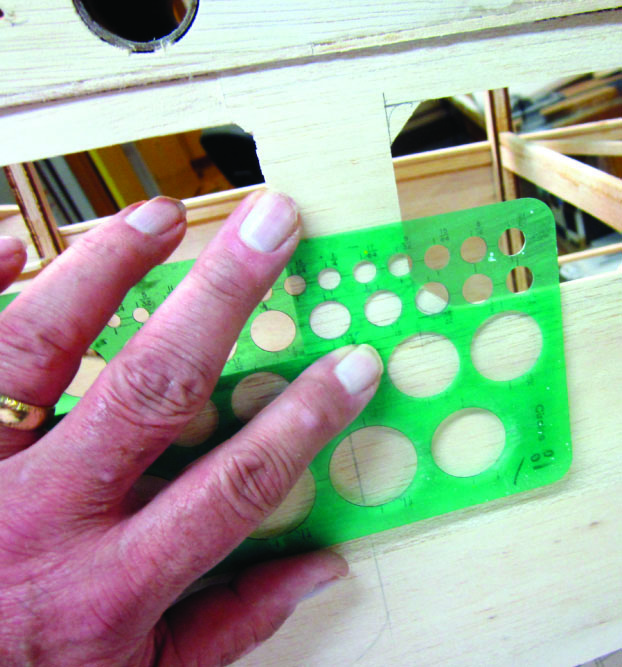
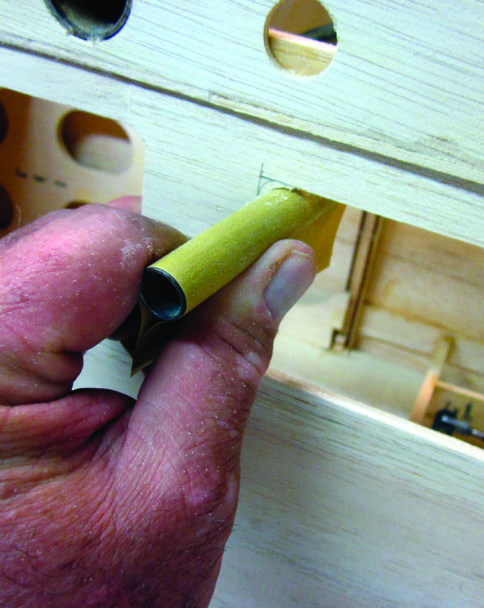
Let’s have a look at all that as it plays out in the details of building a real model airplane. This view of our Stinson’s fuselage provides an excellent example of the transition of a built-up (stick) structure into one made out of sheet balsa. This model is a scale replica…an accurate reproduction of a specific full-size airplane… and as such its structural requirements reflect those of the full-scale version. Here we are replicating typical 1930’s construction…welded steel tube (“open”) structure intended to be fabric covered, merged into formed sheet metal with forged parts to bear and distribute heavy loads. We’re doing that part here by beginning to rely on heavy sheet and block components as the more lightly-loaded tail section transitions into the cabin and nose that bear the wing root, landing gear and engine mount stresses. The first step in actually putting things together on our model was to mount the landing gear struts using the previously installed hardware.The next step is to glue formers F2B and F3B using the landing gear as an aid to accurate alignment, then add a short piece of 1/4 x 1/8-inch basswood between them. With that done, the landing gear gets removed so we don’t have to work around it.Here’s a classic example of using sheet balsa to enclose and define a flat portion of the fuselage side. This area would be sheet aluminum on the full-size airplane. On a very small, simple model this 1/8-inch balsa sheet might BE the fuselage side; here it’s glued onto the existing former-andlongeron structure. These particular pieces of sheet balsa have multiple functions. They close and fill in open structure to become the eventual outer surface of the fuselage and they add strength and especially resistance to twisting to the inner structure. The forward end of each sheet (there are two pieces, 1/8 x 3 x 24-inch on each side) follows an easy bend around the firewall former. In some cases you can safely “just bend” the sheet around a curve like this and secure it with tape or clamps until the adhesives “grab”; in this case I followed the instructions and sprayed the outside face of each sheet lightly with water to facilitate bending with almost no chance of cracking the wood. Doing this demands that you wait for the wood to dry out before you can do anything else with it, but it’s the best way to guarantee an accurate, tight assembly.Now we’ll get to do some serious balsa bending. This is where pre-wetting the wood before starting to force it is not optional…you MUST do it. The instructions suggest that you use previously set-aside pieces of SOFT 1/8-inch sheet for this part of the job, which is what I did. Here I’m fitting one of them in place against the lower edge of the right side nose skin we put in place in the last step.In this instance I’m holding the piece of 1/8-inch sheet in place while I bond just that first joining edge with fast ZAP. If I were using wood glue or epoxy, I’d have to wait for it to cure/dry before proceeding, since what I’m creating here is a reliable fixed edge against which I can define the rest of the bending/forming operation.There’s a subtle curve in the lower longeron here, so I’ve had to ZAP one end of the sheet, then ease the opposite end into place and ZAP it in turn.The 1/8-inch sheet is firmly attached all along the edge of the adjoining side sheet (and I made sure to trim and sand those joining edges to get an accurate fit). Now I can spray the outer surface…the face of the sheet that will be on the outside of the bend…with warm water and let it soak for a few minutes.This happens to be the other side of the fuselage, but the game’s the same. It’s easy to tell when the wetted balsa sheet is ready for bending…it will move in response to a gentle pressure when it has softened sufficiently. Here I’m applying SLOW ZAP to the inside joining surface of the formers and landing gear mounting structure prior to folding the section of sheet into place.Firm finger pressure on the wet sheet balsa…with one edge already stuck down tight…is all it takes to get a good fit. I’m using slow adhesive to prevent premature hardening of the ZAP in any of the open joints, so I need to hold clamping pressure for a few moments. That’s what the masking tape is doing for me.I have trimmed and fitted the adjoining piece of 1/8-inch sheet. Careful dry fitting now saves poor results later (when it’s too late).I’m gluing up that same long mating edge before wetting the next sheet.Here’s what the left front lower fuselage edge looks like with all the sheet balsa in place.The next step is the adjoining section of 1/8-inch balsa sheet on the fuselage side. All this went together the same way. Notice the generous use of masking tape to keep the wet balsa and slow curing adhesive under control for as long as necessary.A couple of hours in a warm shop is enough time to be sure the wood is dry enough to remove all that tape. (Hint: If you can lay your hand against the wood and still feel ANY coolness, it’s not done drying. Wait). With that done, I went over the entire new assembly with the sanding block and trued up all the joining edges and surfaces. Now I’m using an ordinary No. 11 blade to locate exactly where I’m going to cut away some 1/8-inch balsa sheet so I can fit the landing gear back in place.Here’s how that part works. The “extra” hole is for the third LG bolt to fit through the outer skin to reach the mounting plate.Now both LG struts are fitted back in place and bolted tight. From now on I’ll work on the fuselage “on the gear” whenever possible to prevent scuffing up the bottom structure against the workbench.There are several more pieces of 1/8-inch balsa sheet needed to close up the top fuselage deck. These little side sections define the lower edge of the opening I’ll build in to define the windshield cutout.That’s been done on both the right and the left side.I used the side and top views on the plan to determine where to cut the top sheet to match the windshield cutout shape I want. In fact I left a generous overhang here so I could measure and trim for a close fit later when it’s time to add the cabin top and the actual windshield structure.Same game again…I ZAP’d down my first joining edge, then used the water spray bottle to get the sheet balsa ready for bending.Same as with the bottom sheet, I’m using a slower setting glue (ZAP-AGAP) this time along all the joining surfaces inside the left top deck sheet joint.I cut out the basic shape on the board using a metal straightedge. You can see where I’ve left extra material in place to sand in radiused corners after the panel is assembled.Here I have both the left and right top deck sheets in place. I’ve given them time to dry off from the light spray of water and sanded all the joining edges into line. Later all this structure will get a final finish sanding.To finish sheeting the fuselage we have to take the cabin side windows into consideration. I’ll start with the left rear by cutting another piece of 1/8-inch sheet balsa and transferring measurements from the plan to define where the window cutout will go.It’s easier to do that delicate job with the sheet panel supported by surrounding structure, so I’ve glued it in place.A plastic template is an easy way to mark accurate quarter-circle arcs into the window corners with a pencil.If you’ve followed my articles in the past you’ll remember how much I like to use odd scraps of material that happen to fit the job at hand as custom-shaped sanding blocks. This one happens to be a piece of 4130 steel tube left over from building a landing gear assembly. This is where taking your time and getting it right will pay off in professional looking work.
That’s all we have room for here, but there’s more. Go to http://www.rcmodel.com/2012/11/building-the-stinson-sr-9-14/ to see all the rest of the details of Stinson blog No. 14
 Fly RC Magazine WE LIVE RC