 Fly RC Magazine WE LIVE RC
By Kevin Siemonsen
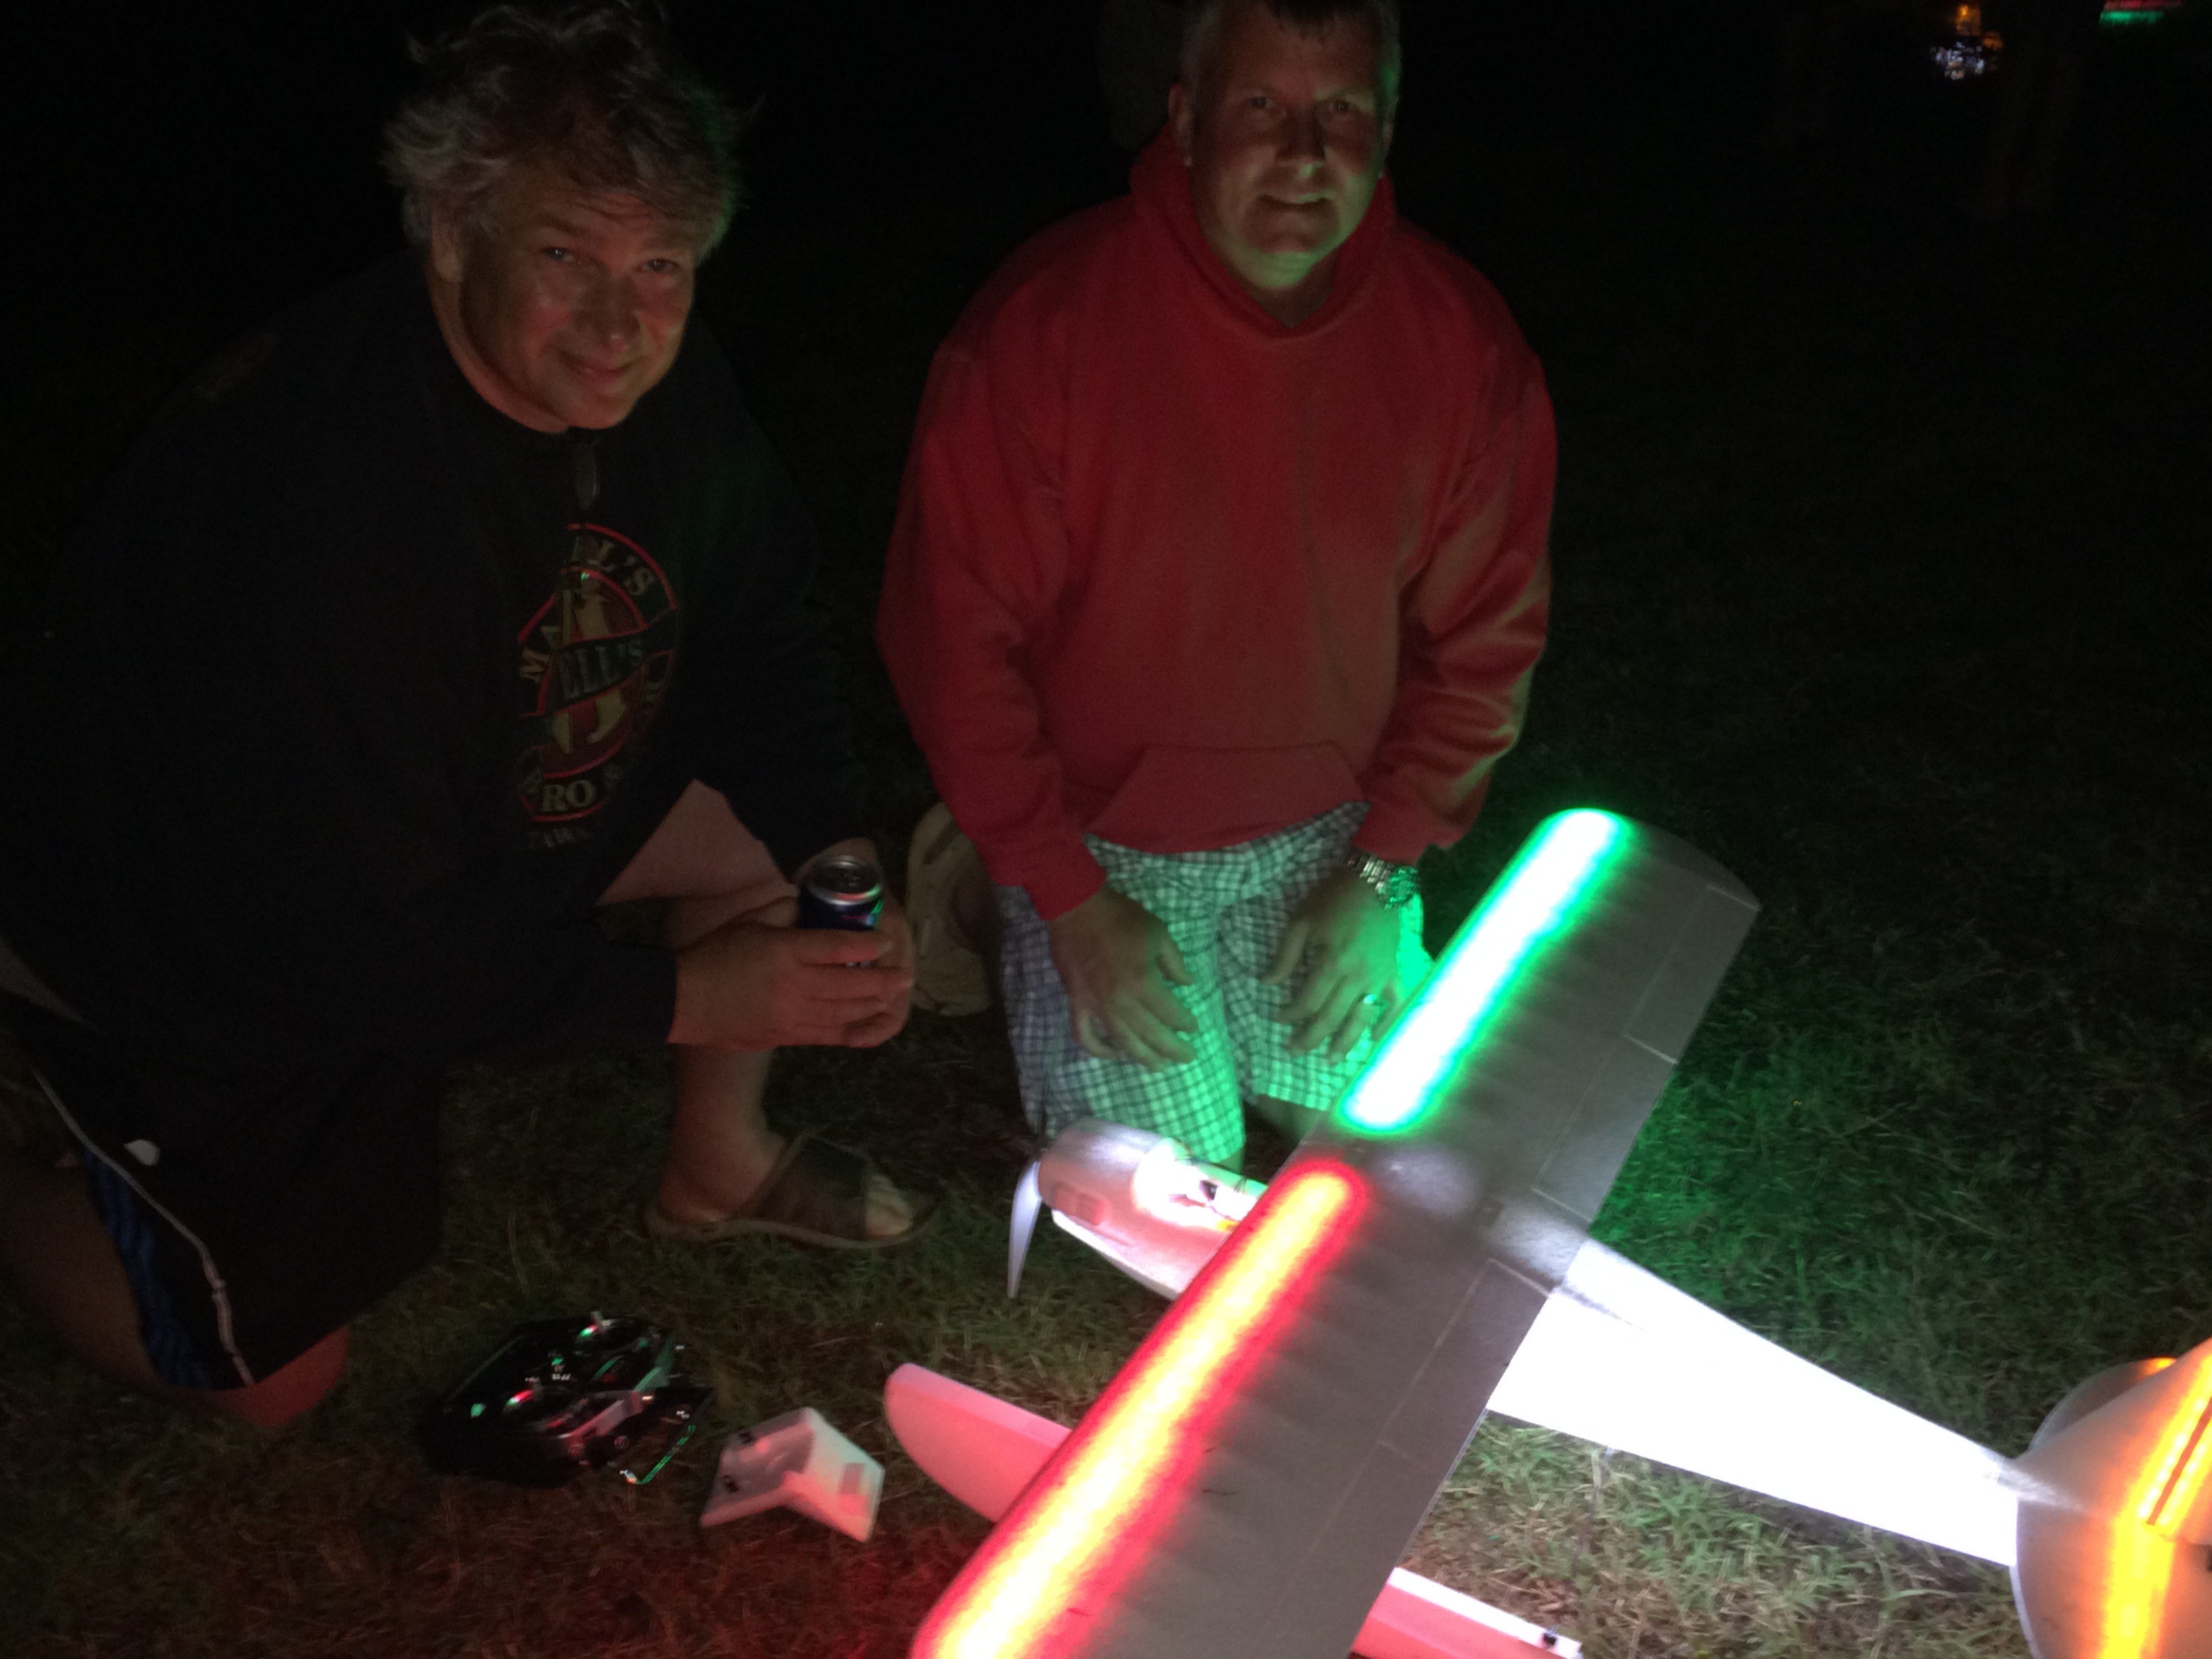
 I have to admit that I’m not the first to light up a foam airframe, but it’s hard to say (for me anyway) that I didn’t have the most fun doing it! It all goes back to Joe Nall Week about five years ago. A group of us had a bunch of Sea Winds and we took over the float pond. In the evening, a couple of the guys acquired “new” LED lighting strips (that were just introduced to the market at that time) and stuck them on their Sea Winds so they could tear up the 3D float pond that evening. As cool as it was, the drawback was that all you could see were the lit individual LEDs themselves. It wasn’t until the next year when we bought a bunch of Multiplex Fun Cubs on floats that we really got it figured out.
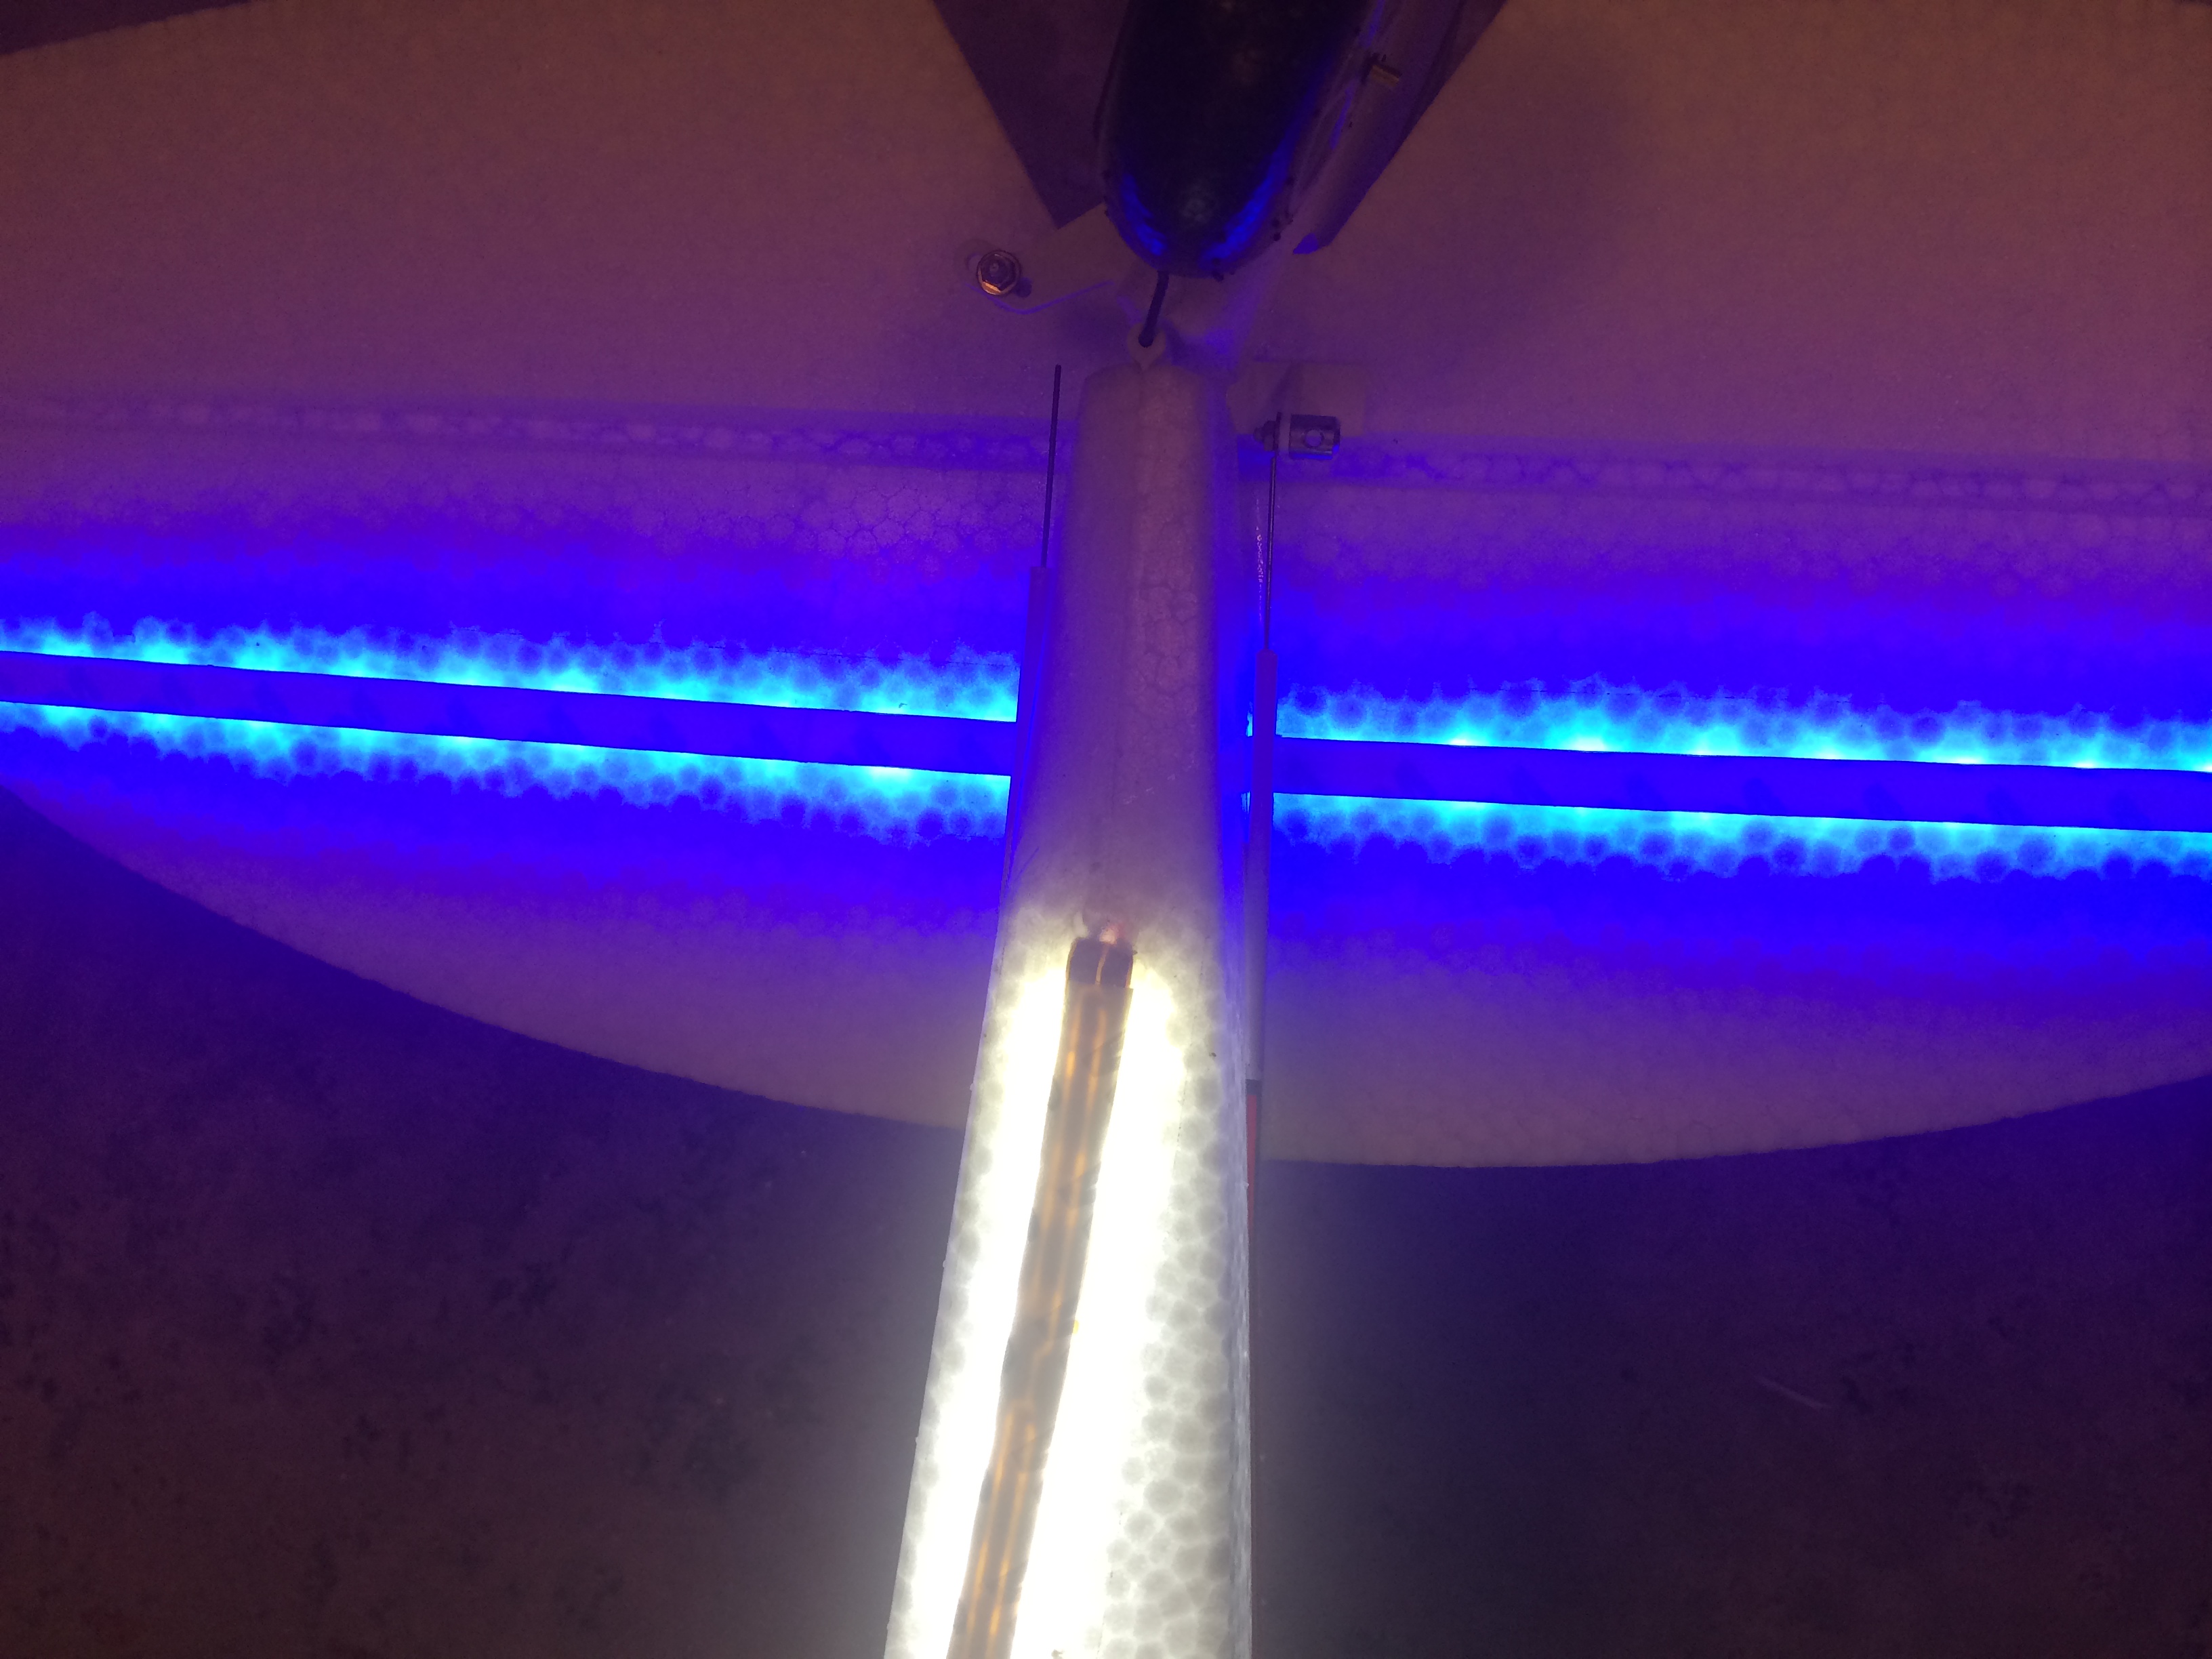
We assembled the Fun Cubs as a build project and used a little reverse engineering when it came to the lights. This time when we put the lights on, we installed them upside-down … as in, the LEDs facing the foam. It sounds odd, but I assure you the results are awesome! The lights illuminate the entire airframe, making it, in my opinion, easier for orientation cues than in broad daylight. The foam cells are translucent and “light up” as light passes through them. I used different color LEDs for orientation and mixed up a few various colors because it looked so cool!
WHAT YOU’LL NEED
To start off, what you need is a few stripsof LED lights, servo lead wire, two-pin connectors, Blenderm medical tape (hingetape), contact cement, a rotary tool and an optional 10 amp brushed motor speed controller. LED light strips come in several different configurations. There are strips with varying quantities of LED’s per strip, color of LEDs, LED quality and some that are programmable and capable of changing colors. Operating voltages of LED strips are typically 6-12 volt. One very cool quality of the LED is that when compared to an incandescent bulb, they are brighter and draw far less current. Cost of the strips is generally seven to fifteen dollars per yard, based on your source.
Start off by lying the strip of LED’s face down on the wing. Then press the strip firmly down, forcing the LEDs to make an imprint into the foam. Remove the strip and you are left with a line of dimples from the LED bulbs. The next step is to use the rotary tool and rout out the imprints in the wing, making receptacles for the LEDs. I prefer using a grout removal bit for this task. Solder the power leads to the LED strip, apply a layer of contact cement to the back side of the light strip as well as spots between the bulbs and glue it “LED side down” on the wing. Then, apply a layer of Blenderm the full length of the light strip. The contact cement acts like a primer and makes a permanent bond with the tape and you should be able to peel the whole strip off without
damaging the foam structure, should the need arise. This process gets repeated through out the rest of the airframe along the belly of the fuselage and on each tail surface as well. The LED light strips have station points where they can be cut and spliced as well as places to solder the wires. Polarity of the light strip is usually indicated, eliminating
any guess work.
airframe.

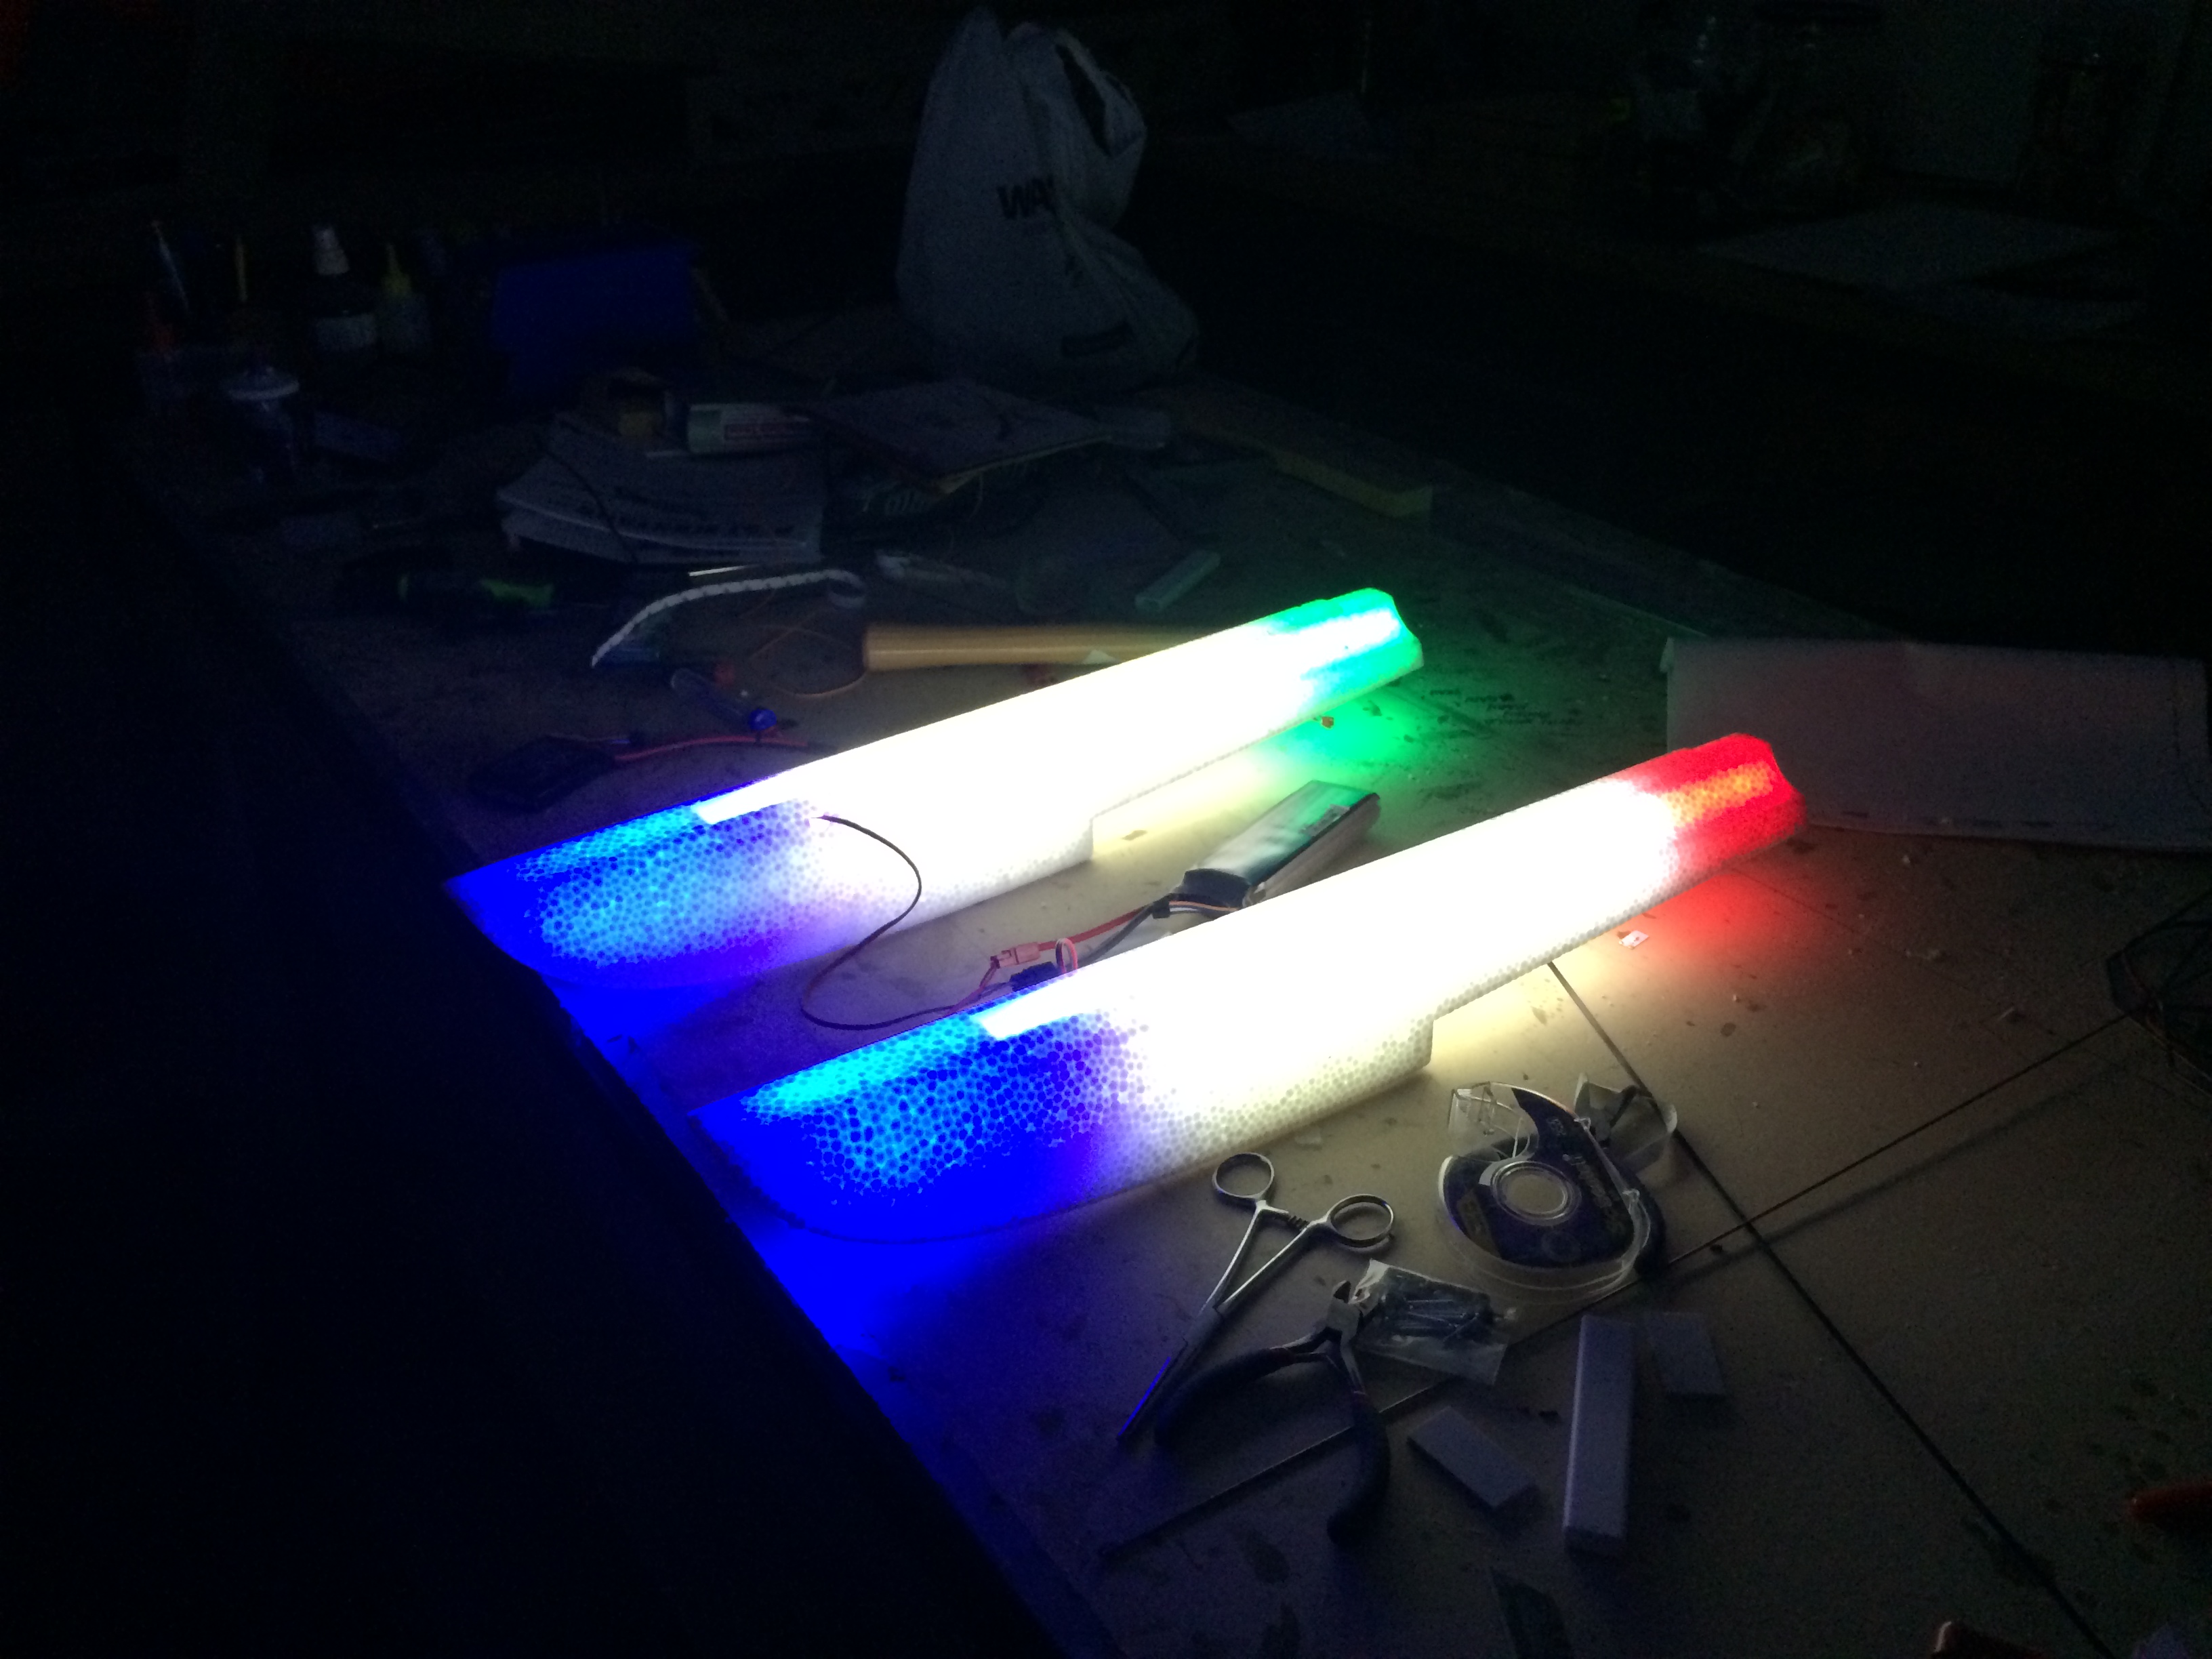
You get maximum return for minimal efforts without going fancy with light configurations, but a little more time given to mixing and matching different colors and the look is amazing! You can get a little nutty putting higher intensity lights on the belly acting as landing lights and you can even get special LED strips with circuitry that allows programmable color changing. The lights don’t actually have to be glued to the exterior of the airframe either. If it is possible to run light strips through the wing or fuselage interior; you will get the same result.
Powering the system can be done by splicing in a connector on the ESC wires or tapping off the balance plug on the battery. Do not use more than a 3S pack to power your LED lights. I typically make three connections, with each wing panel and fuselage section having its own connector. This will enable some redundancy over wiring all the lights through a single connector. The last method of wiring is using a brushed motor speed control as a remote radio activated switch. This would enable increasing or decreasing intensity in-flight. Think of it as a dimmer switch for your night flyer.
Just recently I experimented with a set of floats and some new tooling from Hot Wire Foam Factory. They offer a unique tool whereas only the very tip gets hot for melting long, deep holes in foam. The tool originally melted approximately a 1/8 hole, but I had HWFF modify it to melt a 1/4 hole. I carefully melted a hole lengthwise in a set of fun Cub floats with an intersecting hole by the gear mount. I fed the lights through the floats and the power wires out the hole by the gear mount and then sealed up the holes with white silicone. The end result was a 100% sealed, internally lit float that looks awesome!
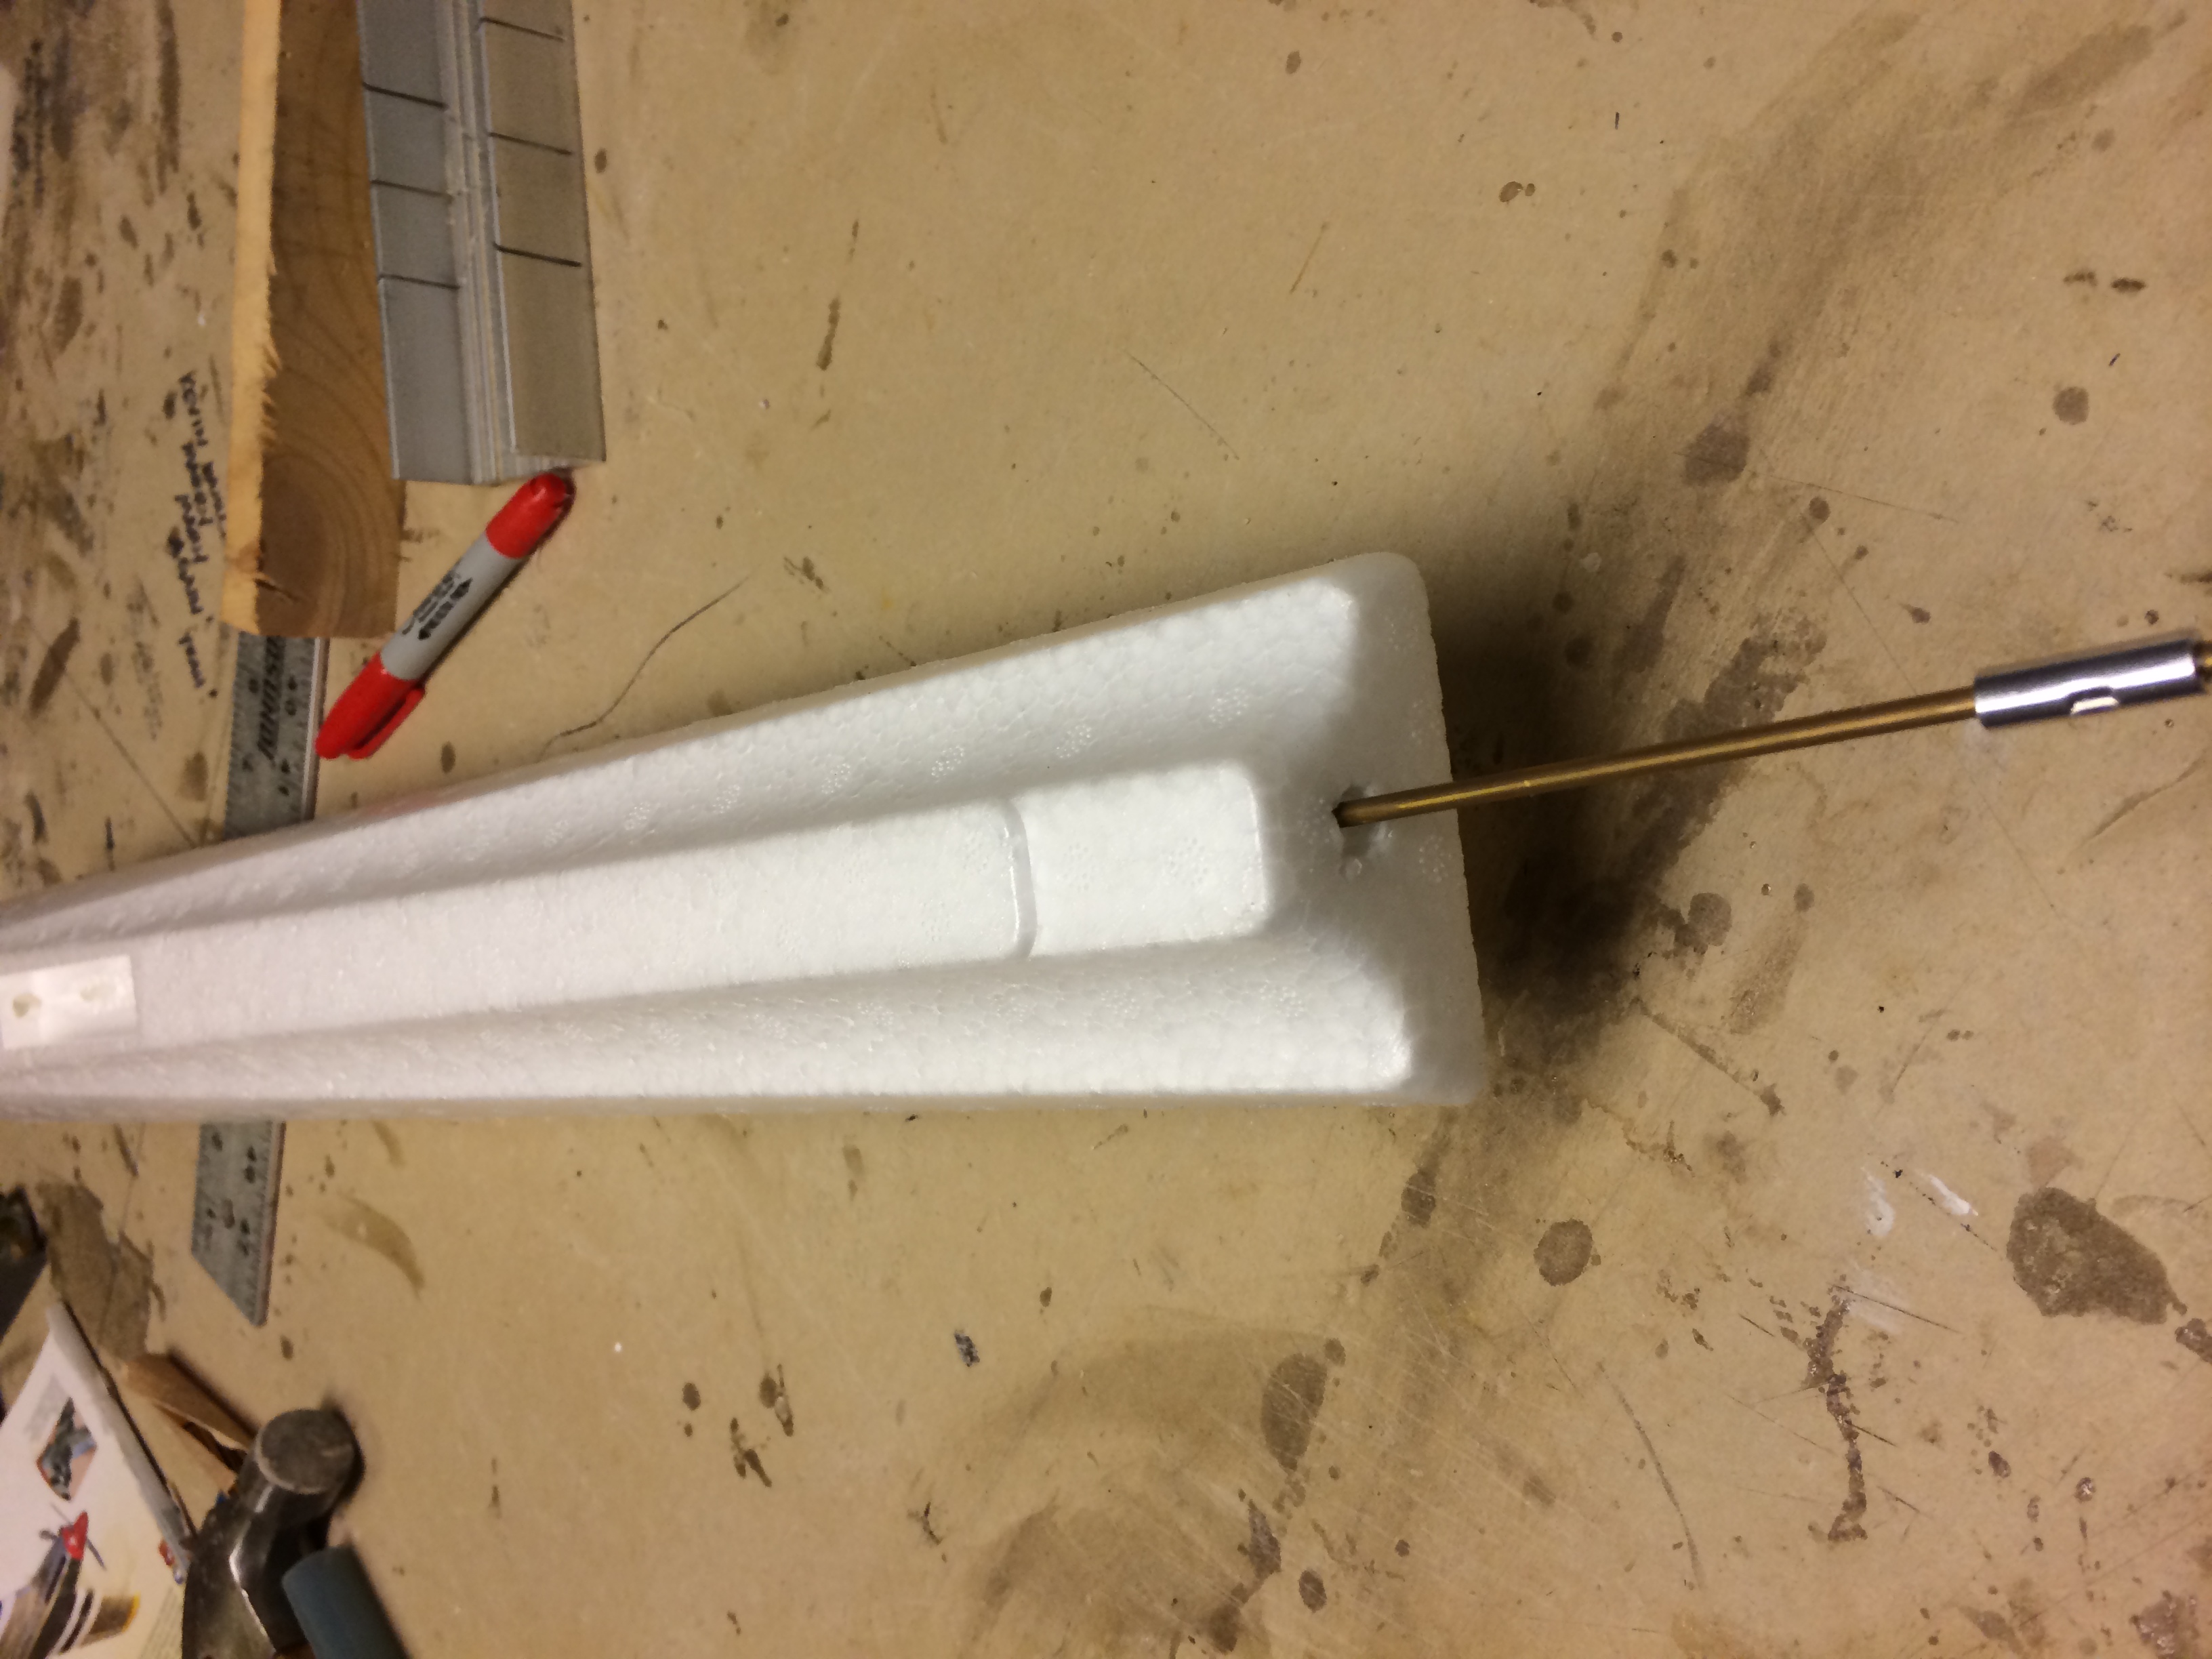
route LED lights. Seal openings with silicone.
IN THE END
LED lights, until a few short years ago, were basically too much of a pain to bother with. Advancements in technology, lower costs, lower weight and increased availability have made it possible to have about a million dollars worth of fun for 40 bucks or less. Lights and night flying are another dimension of the hobby that are not only easily achievable, but incredibly fun! Another added bonus to the beauty of the LED strips bounding across the sky is that the winds usually die down after dark. That means, with the light weight and modest prices, you can outfit just about any sized foam model in this fashion. ?
LINKS
HOT WIRE FOAM FACTORY www.hotwirefoamfactory.com
MULTIPLEX distributed by Hitec, www.hitecrcd.com
