 Fly RC Magazine WE LIVE RC
So, we’ve all crashed, right?
I mean, at some point or another, you’re going to need a few skills under your belt for refurbing your foam model to get it back into the air as quickly as possible. On the contrary, however, my Twisted Hobbys Crack Turbo Beaver suffered an even worse mishap. It was beaten up pretty bad, but not after an ill-fated flight. I had left the model exposed to the curious (and mighty strong) hands of my 2 year old son. Less than a minute alone with the Beaver and he had essentially ripped the left aileron off, tore the motor and mount off and removed the cowl I had added (which I was fine with as the ESC was all bottled up in that little compartment). Gluing the motor mount back on was a piece of cake, but I was wondering what form of hinging I should turn to on the aileron. I could just use blenderm tape. It’s a tried and true (as well as super easy) way to get a foamie back into flying condition. Fabric hinges would also work, but would require a bit more labor. Here’s what I did after discovering a few Dubro Nylon Micro hinges in my desk at the office.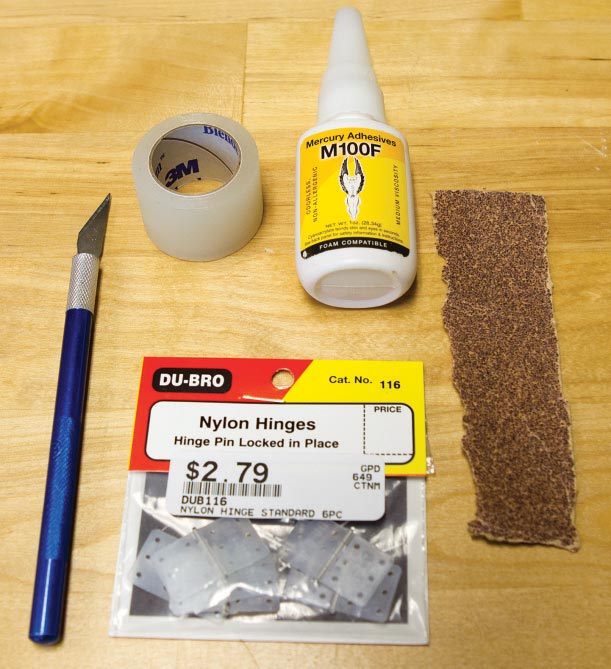
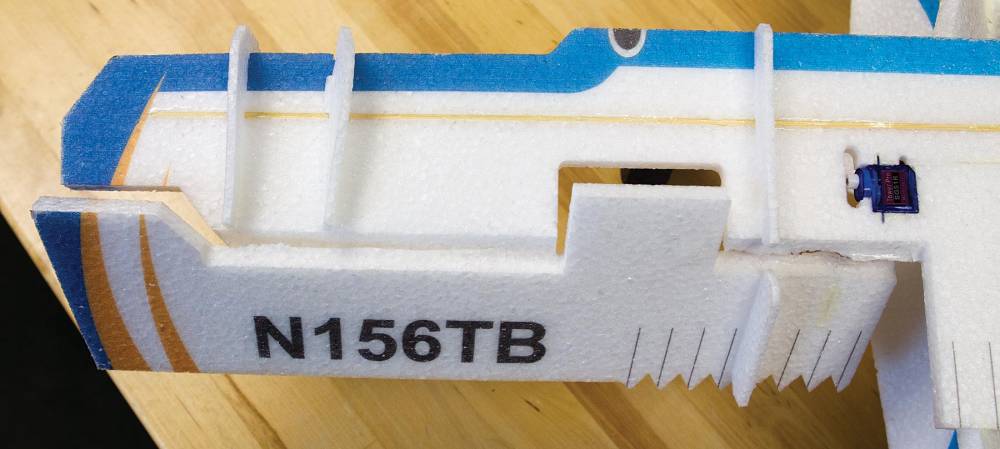
STEP 1: Cut the “hanging on by a thread” aileron completely off and clean up any jagged edge material left over from the foam hinge and subse- quent destruction thereof.
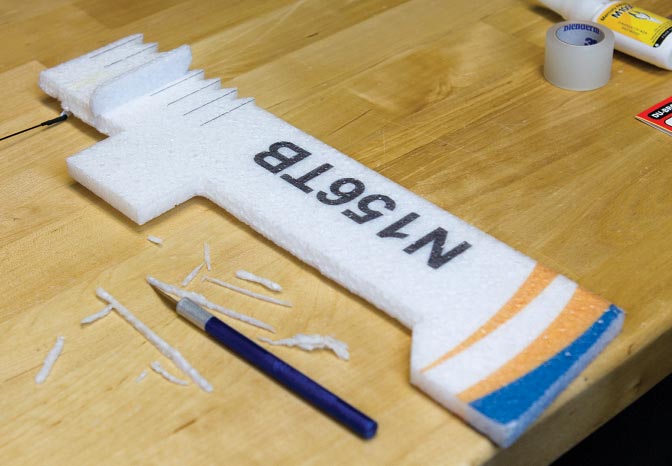
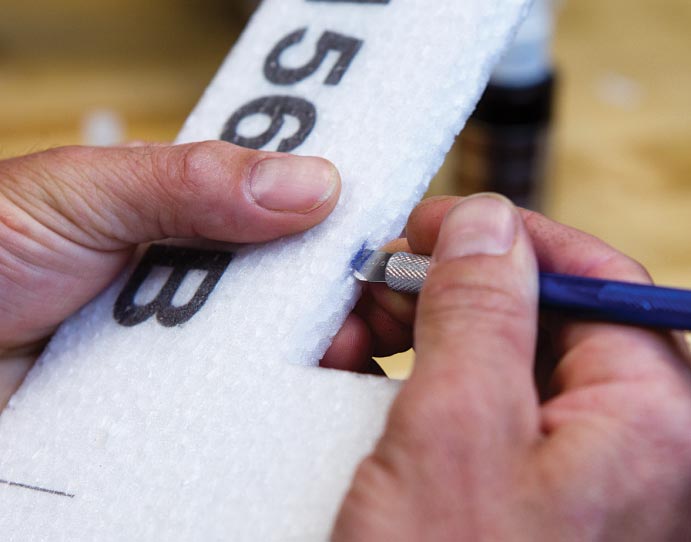
STEP 2: Mark your hinge locations and carefully cut them just a bit wider and deeper than needed. There are multiple jigs out there on the market for straight and true slot cutting, but for this Beaver, I simply “eye-balled it” and it worked out perfect.
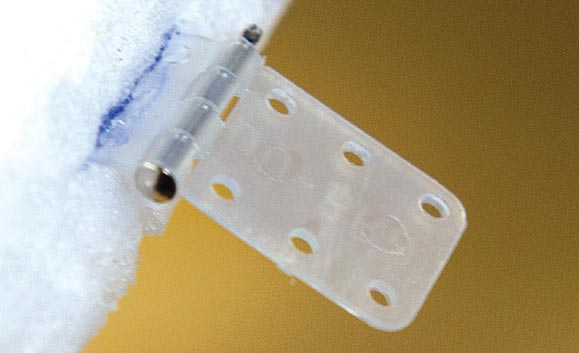
Rough up the hinge tabs on the sand paper for good adhesion once glued into place. Dry fit each hinge before gluing and add the aileron as well for a test fit.
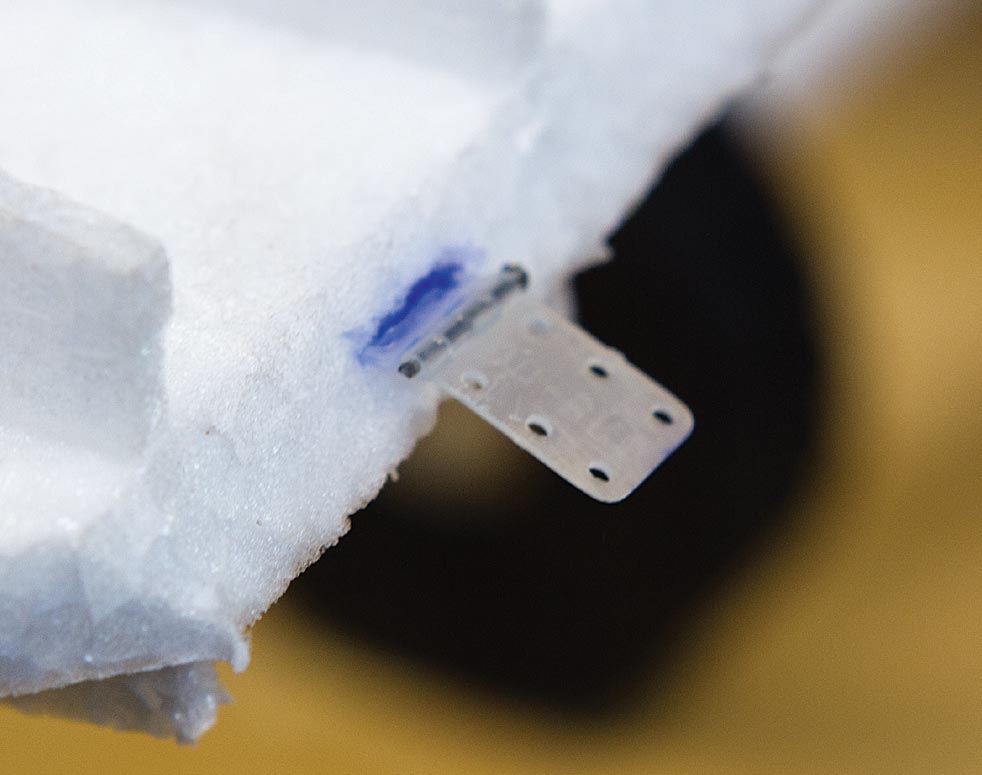
STEP 4: Insert a little dab of glue into each slot on the wing and insert your hinges, making sure they are all on the same level and all inserted the exact same amount. I used Mercury Foam Safe CA in medium viscosity and by putting the glue into the slot, rather than on the hinge, I didn’t have to worry about adding oil to the hinge itself.
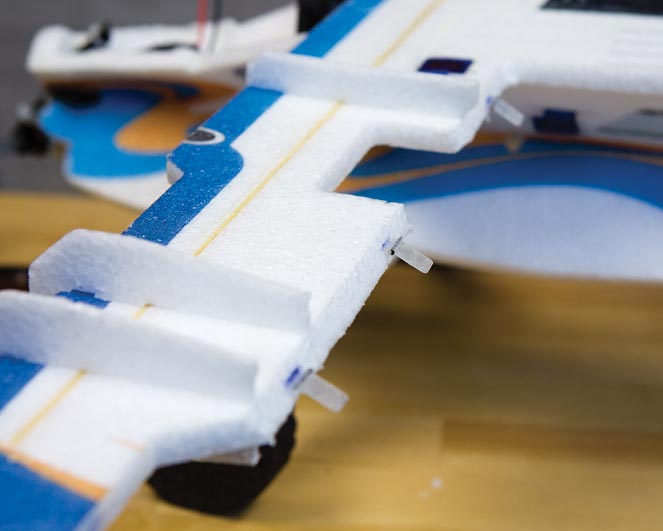
STEP 5: Add the aileron to the hinges after the wing side has cured fully and then back everything up with a few strategically located strips of Blenderm.

Voila! That wasn’t so hard, now was it? Now that your foamie is all back in shape, get out there and fly!
CONTACTS
TWISTED HOBBYS twistedhobbys.com, (941) 623-9553
DUBRO shop.dubro.com, (800) 848-9411
MERCURY ADHESIVES mercuryadhesives.com, (770) 988-4583
