 Fly RC Magazine WE LIVE RC
Fly RC Magazine – June 2012
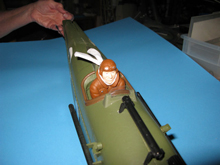
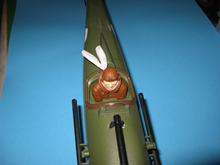
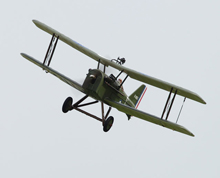
ParkZone S.E.5a WWi BNF
Quick box to air time with a scale beauty
By Bob Van Tassel
Photos By Walter Sidas
AT A GLANCE
MANUFACTURER: ParkZone
DISTRIBUTOR: Horizon Hobby
TYPE: Fun scale large park flyer ARF
FOR: Intermediate pilots
PRICE: BNF $249.99, PNP $184.99
NEEDED TO COMPLETE:
4+ channel DSM2/DSMX compatible transmitter
ASSEMBLY TIPS
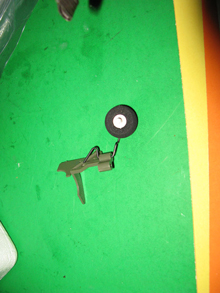
I removed the outer corrugated shipping box and exposed the colorful box containing the components of the plane. I carefully slid the foam packing insert out of the box. Wow, what a job ParkZone has done on packaging. I have never seen a model that has been as carefully packed to prevent damage as this plane. Even the prop was secured. After carefully removing the contents I was about to call Horizon as I could not locate the assembly instructions. Flipping over the foam packing insert on the opposite side I found the instructions in a plastic bag in a molded recess. This plane is well thought out. ParkZone has even given us the option of flying off a grass field or a paved runway by packing a tail skid and a tail wheel. I chose a tail skid and it worked out just fine on our grass runway.
In a very short time you can have the plane packed up and on your way to the field.
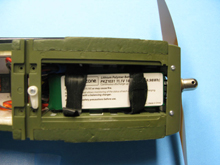
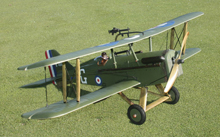
Not much can be said about putting together an airplane that assembles in less than one hour. You are not going to be overtaxed in assembling the plane. ParkZone suggests that you charge the battery as you assemble the plane so you are ready to fly as soon as you finish assembling. Step one: put away most of your extensive array of hobby tools as you are not going to need them. Just grab a screwdriver and a sharp knife. You can also use a dab of glue to secure the wing mounted machine gun.
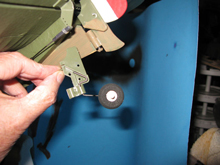
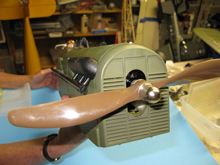
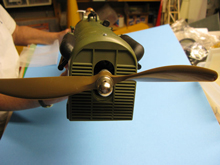
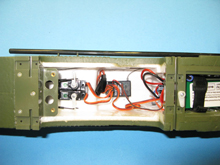
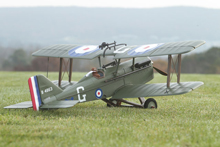
I suggest you assemble the plane in the order recommended in the instructions. This is particularly so when assembling the landing gear. Of course I didn’t and it slowed me down. I did make some adjustments on the push rods that control the ailerons. Also, note the factory suggested holes to use on the arms and horns for proper throws. Don’t forget to balance the airplane at the proper CG. I have seen some speculation on the placement of the roundels on the upper wing. I have done some investigating and found that the placement is correct. While not the standard placement, some planes had the roundels inboard of the ailerons. Of course, the modeler in me would not just let sleeping dogs lie so I did touch up the screw heads and wheel retainer with brown paint. We can’t have a WWl plane with shiny chrome screws. After I flew the plane as it came out of the box, I decided to add a few more details. I painted the radiator. I also painted the landing gear N struts to simulate wood graining, added a little rust color on the exhaust and painted the spinner black. If you have occasion to use tape on the plane be careful as the brown paint will tend to stick to the masking tape.
Image Gallery
 |
 |
 |
 |
 |
 |
 |
 |
 |
 |
 |
|
Links:
Horizon Hobby
Parkzone
Spektrum
