 Fly RC Magazine WE LIVE RC
Author:
David Stacchini
Photographer:
Walter Sidas
Super performing legendary aircraft
NEED TO KNOW
MANUFACTURER: Flyzone
DISTRIBUTOR: Great Planes Model Dist.
TYPE: Sport Scale RTF
FOR: Beginner to intermediate sport pilots
MINIMUM FLYING AREA: Schoolyard
PRICE: $259.98
INTRO
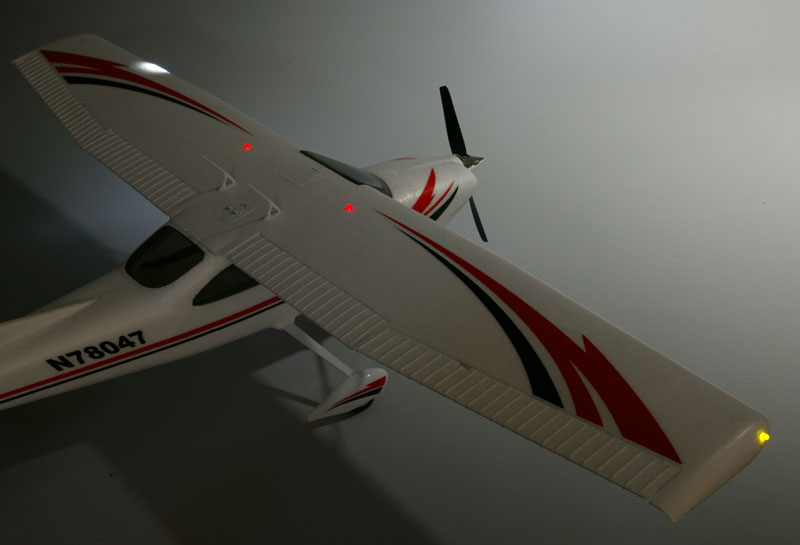
If you are into scale sport models, that are quick to assemble, then this is for you. It is loaded with scale details such as a simulated instrument panel, working lights, fully-functional scale landing gear, flaps with scale-looking hinges, and working wing tip, strobe, landing and top beacon lights. When I starting flying RC models in the late 70’s, you would be laughed off the field with a foam ARF airplane, but now with this kind of quality, and so much scale detail, it’s hard for me to justify spending hundreds of hours scratch building a model. This Cessna 182 looks great, can have you in the air in just a couple of hours, and is a really fun airplane to fly.
ASSEMBLY
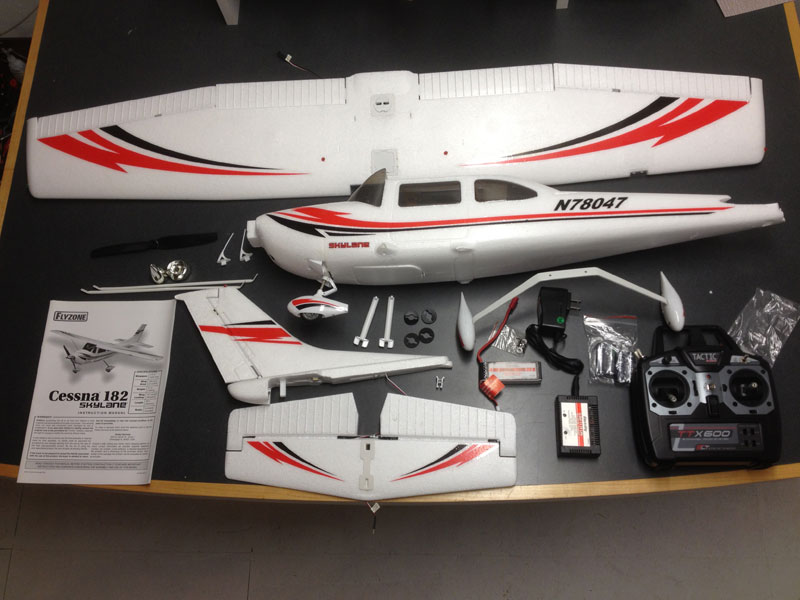
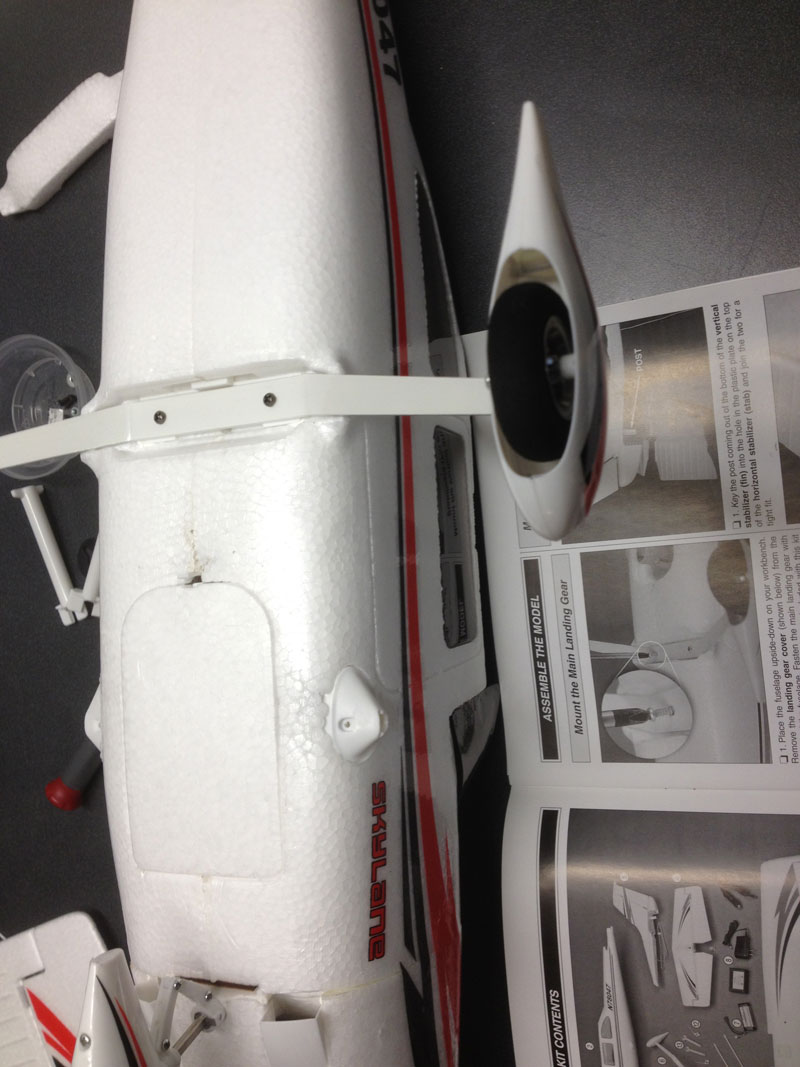
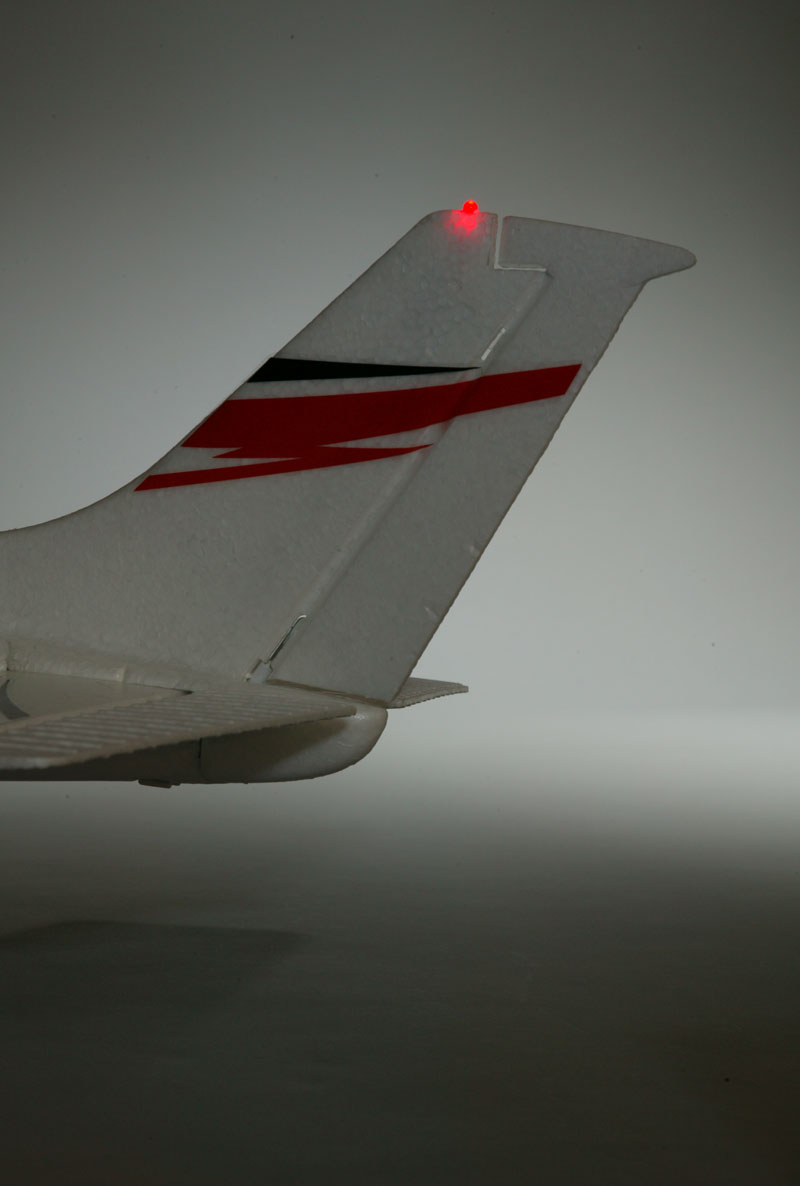
The included instruction manual is very clear in my opinion, and because most of the airplane is factory assembled, it goes together quickly with a Phillips head screw and a pair of needle nosed pliers. I read the manual and then did an inventory to make sure all the parts where there and in good condition. The fuselage did have some minor damage for the internal carton which became dislodged during shipping. All the damage was cosmic, so I started to build. I installed the main landing gear and then I assembled the tail section per the instructions. I connected the pushrod and put the tail light wire into its tube. I’m a little paranoid, so I add some hot glue to the tail retaining clip after I installed it. It can’t fall out now! After I pulled the light wire through the tube I ran it down the left hand side and hot glued it out of the way of the wing attach bolt holes.
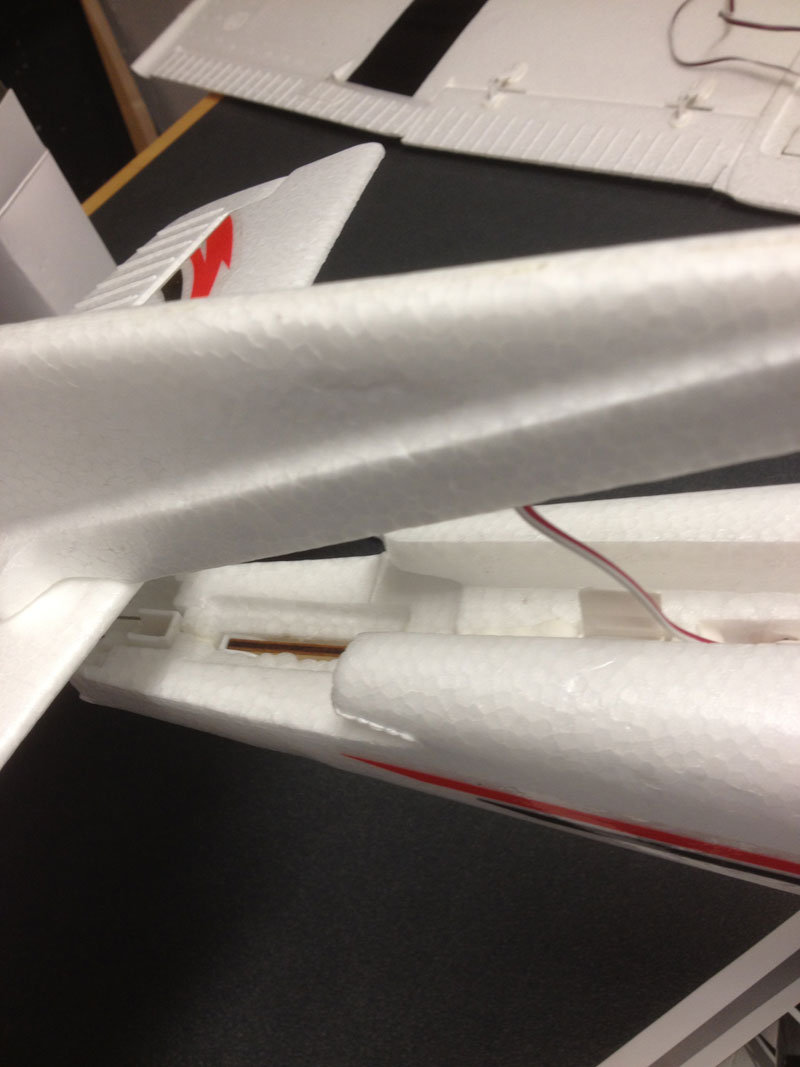
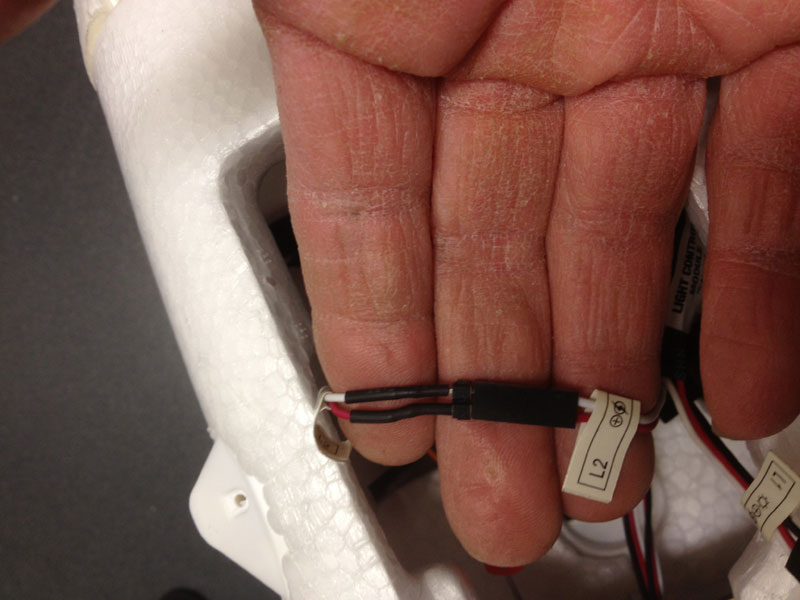
When you connect the light wire to the lighting control module, make sure to read the read the wire labels to get into the correct port and make sure that the wire colors match… red to red and black to black. Install the included 4 AA battery into the transmitter, and then turn it on. My instruction book still gave directions for the old style transmitter, so I had to follow the included addendum sheet for the 2.4Ghz radio system. Make sure the throttle is down and the throttle trim is down before you plug in the receiver. Now make sure all the trims and sticks are centered so the servo will be centered. Now install the pushrod lock screws with thread lock or glue. Unplug the receiver and turn off the transmitter. The next step is to mark the CG on the wing and then install the one piece wing assembly, but first I added a couple of tie wraps to the aileron and flap servo wires, and the wing light wire to keep thing neat and tidy. I installed the wing struts into the fuselage and then I placed the wing onto the fuselage being careful about the wires being out of the way of the attachment bolts, and I fished them down the left side like the light wire is.
Make sure the light and servo wires don’t bunch up on top of the instrument panel and connect them to the correct receiver channel and mind the polarity (black forward). Connect the three pronged light to the light module and minds it polarity too. Check that none of the wires are pinched anywhere and that they are out of the way because now it’s time to fasten the wing to the fuselage with the ingenious quarter turn “bolts” and special washers. Now install the spinner, propeller, and the 2 antennas to the top of the wing. Temporarily install the battery and the bottom hatch cover, and now check that the CG is within limits. I had to add a small amount of weight to the nose to get my CG correct. I did a full range check of the radio system to make sure I wasn’t going to have any trouble at the field, and now she’s airworthy.
 |
 |
 |
| The Cessna as it comes out of the box | The landing gear installed. Also notice the removable hatch on the bottom of the fuselage. | The tail being attached to the fuselage. |
 |
 |
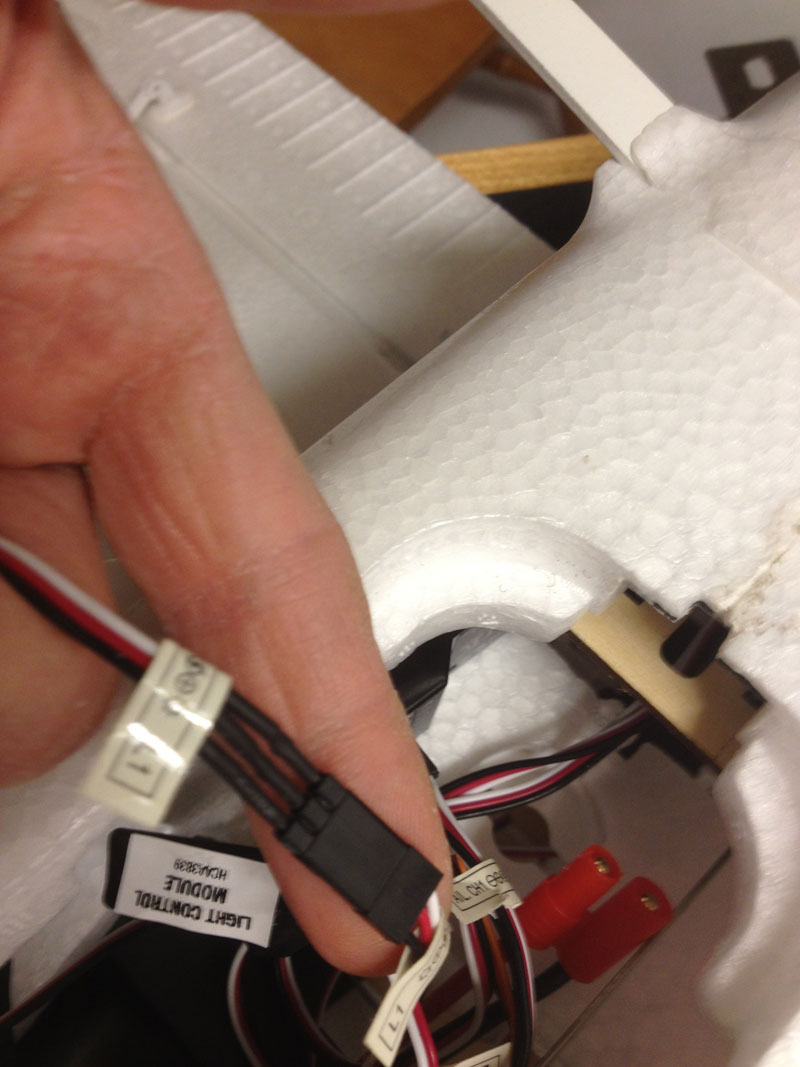 |
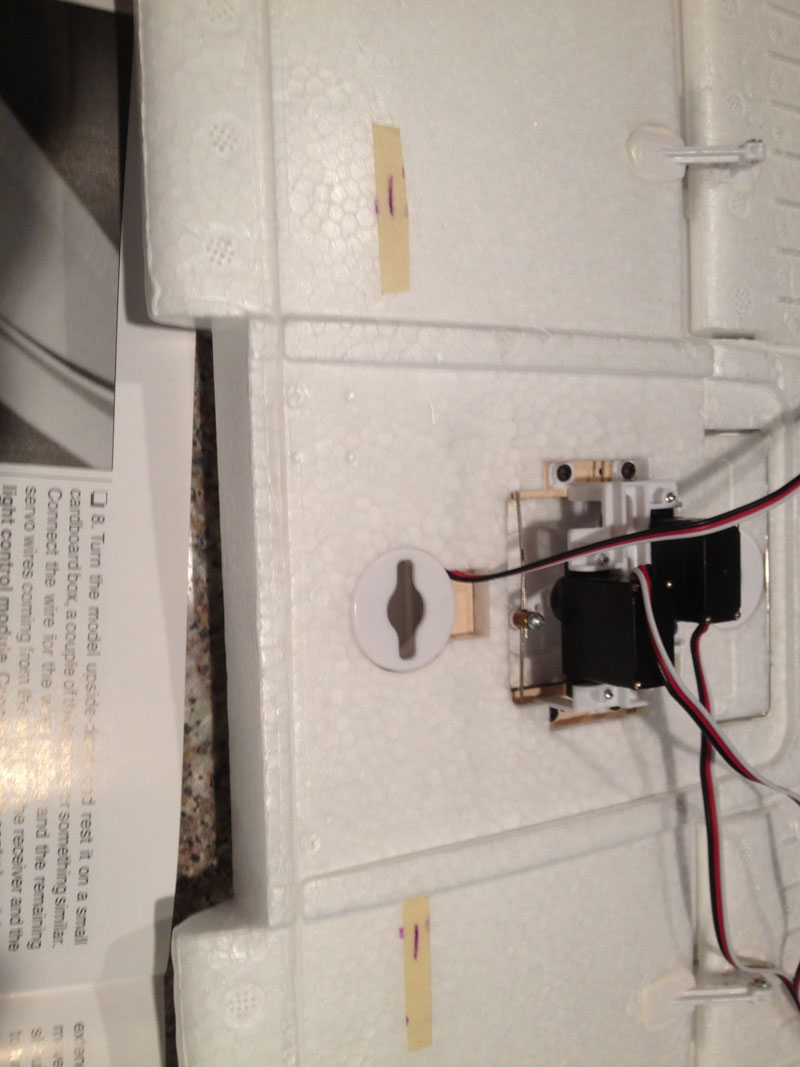
| Wiring harness for the lights. | The aileron and flap servos are installed on the bottom center of the main wing. | Wiring harness for the light control module |
 |
 |
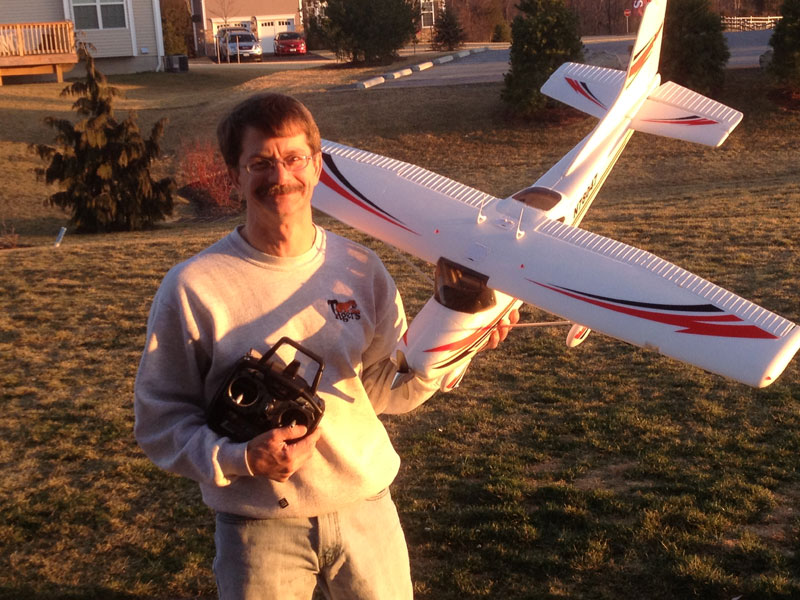 |
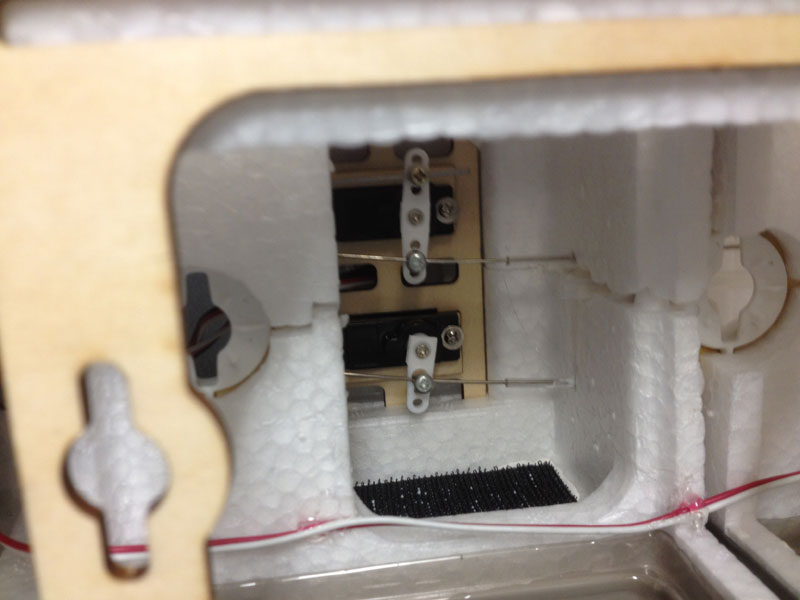
| Prop installation before the spinner is attached. | The elevator and rudder servos are installed in the fuselage. | The proud author and his new Cessna. |
 |
 |
|
| Tail light. | Wing lights. |
