 Fly RC Magazine WE LIVE RC
Learning to fly a model aircraft is a fun and rewarding accomplishment. For many people, it is the closest they will ever come to piloting a real aircraft and it is a hobby/sport that can be enjoyed as a family activity. As with any hobby or sport, if you ask ten different people what the best tips and tricks are to properly learn how to fly, you will get ten different answers. If you have a friend or fellow club member that you trust and are comfortable with, then I suggest working with that person to learn the proper skills you need to succeed as a model airplane pilot. However, with the plethora of ready-to-fly models on the market today and technologies like E-flite’s AS3X flight stabilization system, many new hobbyists can successfully learn how to fly on their own.
No matter which way you choose to learn, I have come up with six main areas that new pilots should concentrate on. These tips are based on my own experience teaching people how to fly. Some pilots will grasp these immediately while others will take some time. But the key here is to practice—a lot!
The six main keys for success are: your pre-flight check, evaluating wind conditions, monitoring your orientation, maintaining proper speed, flying at the correct altitude, and not over-controlling your model.

When I work with new pilots, I always pay extra attention to the pre-flight check. Many people are so excited to tear open the box, charge the battery and toss the model into the air that they forget to make sure the control throws are working in the correct direction or that the battery hatch is properly closed. If you were getting ready to pilot a full-scale Cessna with your children in the back seat, would you skip out on the pre-flight check, especially knowing you have lives of your loved ones in your hands? Of course not! Keep that same mindset when getting ready to fly your model airplane and you will be rewarded with many successful, safe flights.
If you can be sure that all of these conditions are met, then you can consider yourself “ready-to-fly”. The process might take a few minutes before each flight, but when you consider how many hours and dollars repairing your model will take, I think it is a worthwhile time investment.
PRE-FLIGHT CHECK LIST
AIRCRAFT BATTERY
• Are they fully charged?
• Are they properly plugged in?
• Is the battery hatch secured?
PROPELLER/FAN UNIT
• Is the prop secure?
• Is there any debris in the fan unit?
• Are there any cracks or imperfections on the prop or fan blades?
FUSELAGE AND WING
• Are there any cracks or loose joints on the fuselage?
• Are there any holes in the covering?
• Is the wing securely fastened to the fuselage?
CONTROL SURFACES
• Are all the hinges secure?
• Are the control horns and servo connections secure?
• When the radio is powered on, are all the control surfaces centered?
RADIO
• Do you have the correct model selected?
• Have you performed a full range check?
• Does each control surface move correctly, corresponding to the stick movements?
• Are all the switches (gear, flaps, etc.) in the correct position?
• Is the battery fully charged?
FIELD CONDITIONS
• Is the flight line and landingpattern clear?
• Are you taking off into the wind?
• Is the wind acceptable for your model?
• Do you have a hat or sunglasses to protect your eyes?

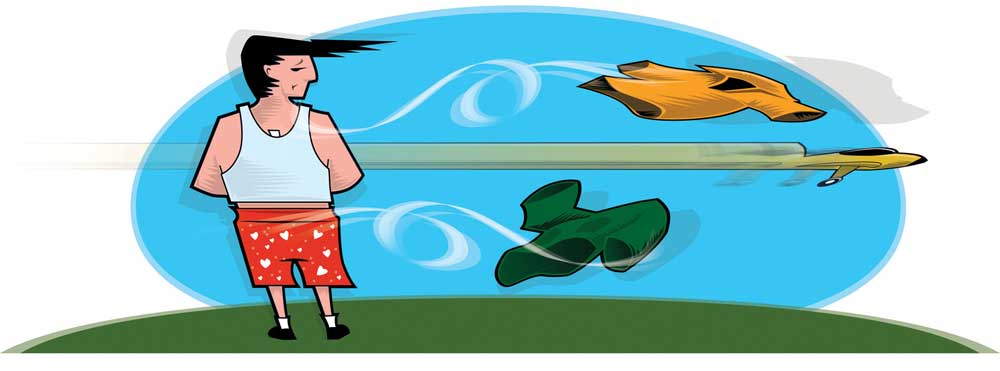
One of the biggest causes for crashes by new pilots that I’ve seen, next to improper pre-flight checks, is that they try to fly when the wind is too strong for the model. If you are fortunate enough to be flying with an instructor and they warn you that it is too windy for your model then you need to heed their advice. An instructor is not going to risk ruining your model. Additionally, flying a model in excessive wind is not really much fun. You are spending all of your effort fighting the wind rather than practice controlling the model and flying patterns.
If you are learning on your own, I recommend flying when the wind is calm or a slight breeze of no more than 4 to 5 mph for just about any model. If you are flying a micro-size model, then I suggest flying in dead-calm conditions or trying to find an indoor facility like a gymnasium or sports dome.
As your skills increase you will become more comfortable flying in windier conditions. Making corrections will become second nature, especially when it comes to landing the model. Most of the models on the market today will have no problem physically handling the wind, but it is the skill level of the pilot that will determine the how much wind is too much.
In any wind condition, even if it is only a couple of miles per hour, always keep the model upwind from you. This is very important! I was at a local field a couple weeks ago and this pilot, who claimed he knew what he was doing (but was clearly a newbie), kept flying downwind of the flight line. I made a suggestion that he stay upwind, especially as his battery depleted the longer he flew. “No, no, I am fine here and I have plenty of battery life left,” he claimed. Sure enough, his motor stopped and since he was downwind, the breeze carried his model into a tree line a couple hundred yards away. If he’d remained upwind, he would have had a better chance to land near the runway. If you are a beginner, always fly upwind!
There is nothing worse than losing the orientation of your model in flight and controlling it as if it is coming towards you when, in fact, it is flying away from you. Many models will appear as a dark grey silhouette in certain sun and cloud conditions or if you fly too far away. This can happen no matter what your color scheme is. Additionally, learning that the rudder and aileron controls are actually backwards when the model is coming towards you is another challenge for many new pilots. Oddly enough, I find that many pilots who also fly full-scale have the most problems with this; perhaps because they are used to flying from inside the plane.
There is no real “magic pill” for dealing with orientation, but I do have a couple of tips.
• First, be sure that your model has a different paint/covering pattern on the bottom than on the top of the wings. I like to use wide dark stripes on the underside of one wing. Doing so will make that wing easier to see even when shadowed by the sun and clouds. If you keep in mind that the right wing has the stripes on the bottom, you will know whether you are flying towards or away from yourself based on which side you see the stripes in flight. For example, if the stripe is on the right wing but you see it on the left side of the model, your aircraft is coming toward you.
• Second, I suggest using a flight simulator on your computer. Flying with a simulator will get you used to the proper control inputs for the model in all flight attitudes. Most simulators will allow you to set the position of the sun as well as the intensity of the cloud cover so you can model different scenarios that you might have at your field. After flying on the simulator for a while, you will find that controlling the plane in various orientations will become second nature.
We live in a fast-paced world and everyone wants things faster and faster. There are times when taking things slow is not only good, but a necessity. Many new pilots forget that the throttle is a variable control. They use it in two positions; off and full-power. Flying a model at full power and max speed can be dangerous, especially for new pilots. Should you lose orientation of the model and you are at full power, you won’t have as much time to react and save the model. Additionally, if the model does crash at full power, you will have much less chance of salvaging it.
Full power should be used when taking off and then, on many models, it can be reduced to half or two-thirds once you reach your desired altitude. Many models fly very well at this power setting. One way you can check to see the best cruise speed for your model is to fly straight and level and reduce the throttle from full to half and see if the model maintains level flight. If it starts to descend, then you need to add a little more power. If it keeps climbing, you can reduce some power. All this, of course, is taking into consideration that your model is properly trimmed. See our “Trimming Your Model” article in the February 2013 issue of Fly RC magazine.
It is important to mention that too little speed can also cause problems. If your model is not moving fast enough to maintain lift from the wing, then you run the risk of stalling which can lead to a crash. The best practice here is to climb to about 100 feet and experiment with various speed settings until you get comfortable.
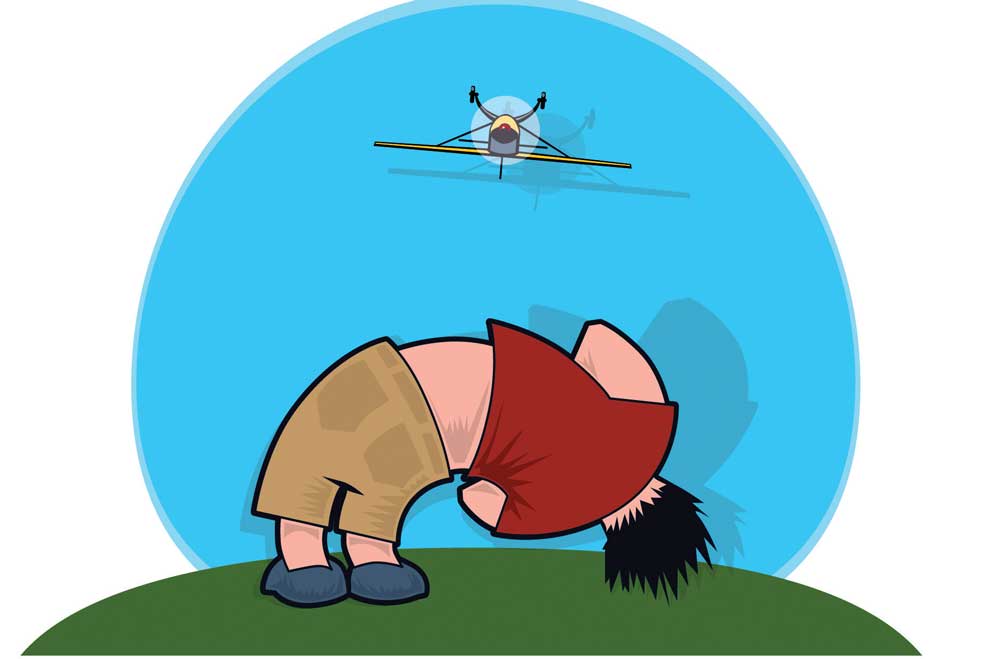
Many new pilots that I instruct have a phobia about altitude. I can understand if you are afraid of heights but you, the pilot, are on the ground. Your model is more afraid of coming in contact with the ground than it is of being high in the air—you can trust me on that! When I am flying with a new pilot I always ask why they want to keep the model so close to the ground and they always respond by telling me that it feels safer because they can better see the model. This is very wrong!
You will hear many instructors tell you that “altitude is your friend”. I suggest maintaining around 100 feet, or double the height of the average tree line. If you are flying a really small model then I suggest staying at around 50 feet. When you are higher in the air you have more time to react if you get caught in some wind or if you lose orientation. You will also appreciate the increased altitude if you run out of battery (or fuel) and find yourself in a “dead-stick” situation. You will have plenty of height to glide your model to a safe landing spot.
Most trainer-type models that a beginner will be flying do not require a lot of input from the pilot. Many times, I have to “prove” to new pilots that their airplane can, in fact, fly without their constant input. I take the model up to a safe altitude and once I am sure it is properly trimmed, I take my hands off the controls and show them that it will fly fine without any input from me. If your trainer can’t do this, you have a trim issue that you need to resolve.
Even if you are flying in a slight wind, once you are at a safe flying altitude, you should be able to take your hands off the sticks and even though your plane will be bumped around, it should still continue to fly without any help from you.
As long as the throttle is properly set, all you are doing is “steering” it around the sky. As you turn the model, one wing will become lower and the model will naturally start to lose altitude. To compensate for this, a small amount of up elevator will be required to maintain the same altitude.
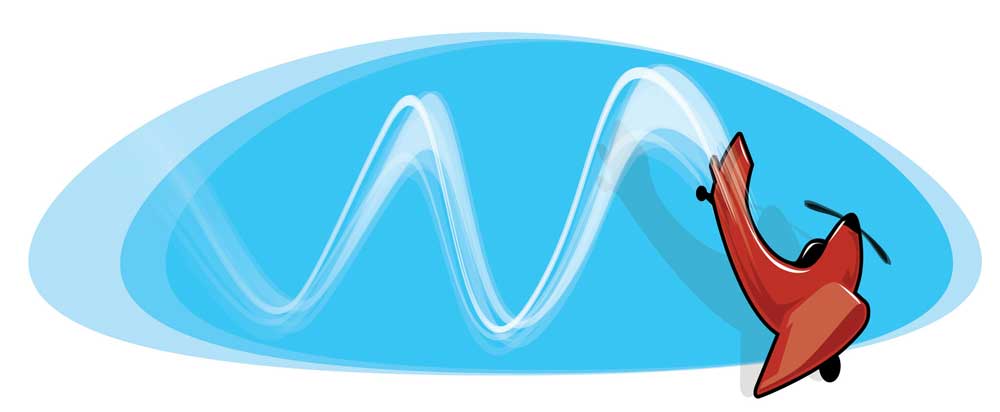
Be careful not to hold too much aileron/rudder in your turns. If you give too much input or hold them for too long you run the risk of the model banking too much, the wing going into a stall and the model going into a spiral dive and crashing. Keep your inputs slow and gentle. If you plan your turns in advance, you won’t need to make sharp turns.
THE FINAL WORD
While this definitely seems like a lot to remember, if you can just keep the fundamentals in mind and pick one or two items to really focus on during each flying session, then I promise that this will all become second-nature. Pretty soon, all the stress you had about learning to fly will be converted into fun and a passion for the hobby. The best way I can explain it is that learning to fly is like learning to ride a bike; once you master it, you will never forget and only get better.
Words: Erick Royer
